Introduction
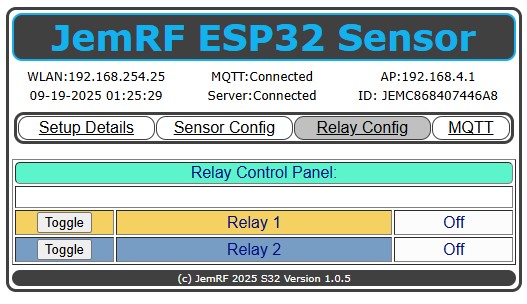
The S32 WiFi Sensor supports two electronic switches (referred to as Relays) use to turn a remote 5 volt relay on or off. When this feature is ordered there are two JST PH2.5 sockets on the to plug and external relay. There is also a JST PH2.0 connector to provide 5 VDC if needed.
The relays can be manually turned On or Off by pressing the Toggle button.
The relay values are reported to the Server and to the MQTT Broker when activated.
The relays can also be turned Off or On using the MQTT subscribe write.
Configuration guide for JemRF device: - WIFI Remote Control Switch
Connecting a relay switch to the WIFI controller.
WARNING : Mains electricity can kill if you are careless or lacking in knowledge of how to connect high voltage.
You can switch the relay using the following URL to your device:
This will switch Relay 1 off: http://192.168.2.99/relayoff?relay=1
This will switch Relay 2 on: http://192.168.2.99/relayon?relay=2
However this will only work if you are on your local home network. You will not be able to do this from the WWW.