How to Create a Monitoring Account at Monitor.JemRF.com
Monitor.JemRf.com is an interactive monitoring service provided by JemRF. It has a free tier level support for monitoring. This procedure shows how to become a monitoring user and get you Token. The token is used to link data from your sensors to your account.
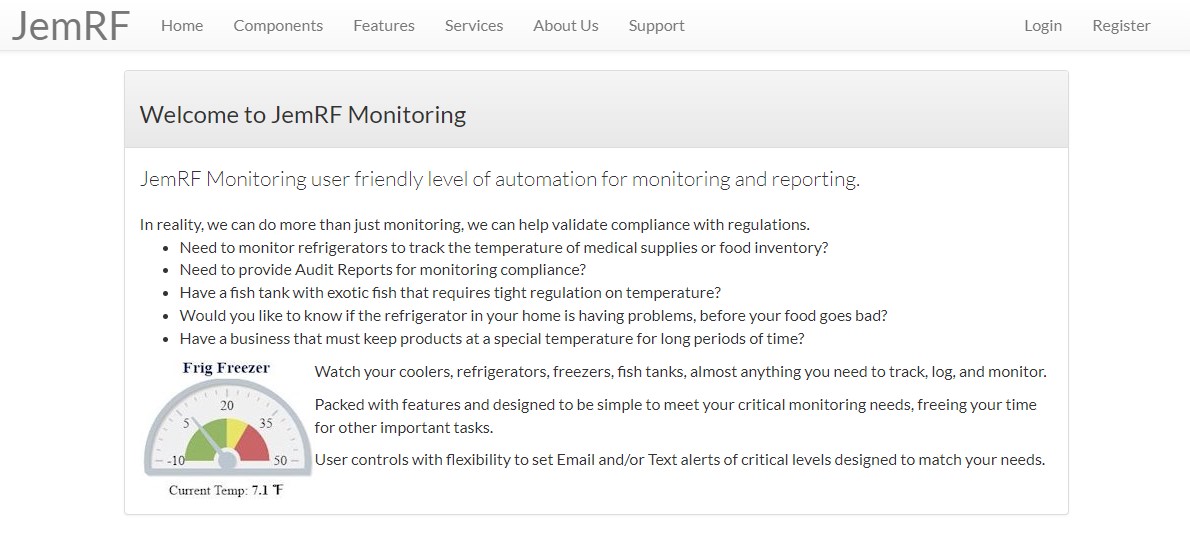
Initial Login Page
Start by going to https://monitor.jemrf.com. You will get the initial Welcome page. On the right side is the sign-in option.
Create a new Account
If you do not have an account click on the “Register” button and that will bring up the create new account page show here:
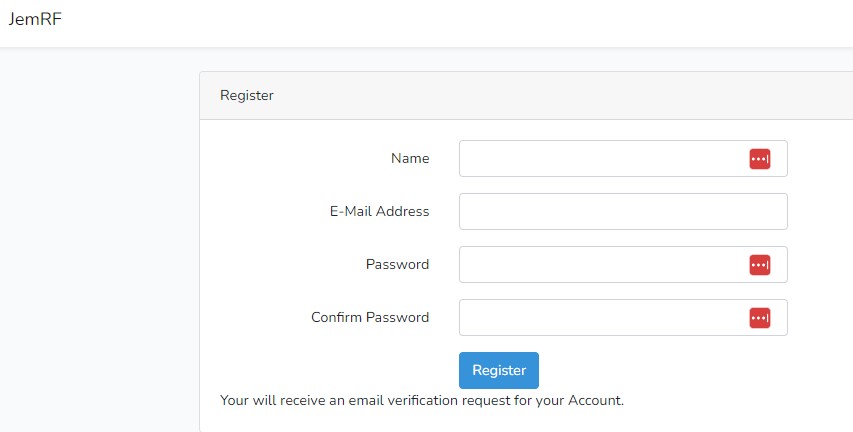
After you click on Register, you will get a message that a validation link has been sent to your email. May take one or two minutes to get the email. Click on then valdidate link and your account will be created and ready to login.
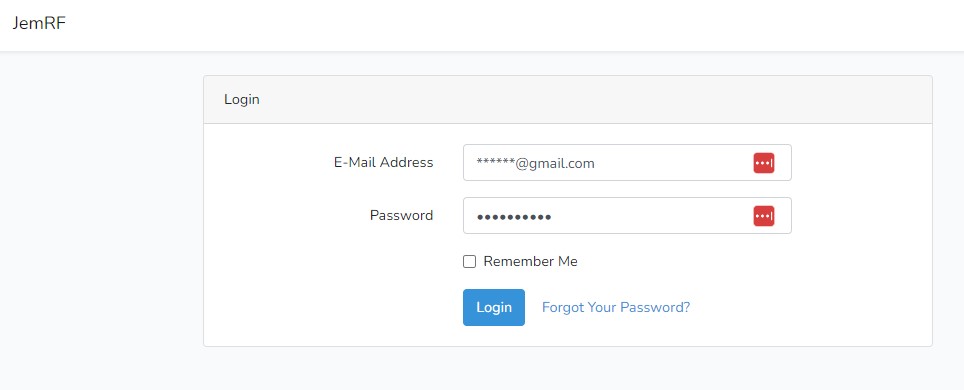
Login to JemRF
Once validated, your account will be ready for you to login. Go back to the Welcome Page and click on Login.
If you have any problems, email: sales @ jemRF.com for help.
Getting your Token
Once your account is ready and you have logged in, follow these steps to get you Token. Copy and save the token for it is used as part of the setup of your devices. As part of the communications with the monitoring server, when the device sends data to the monitoring server, it includes the Token. With the Token the monitoring server know the the data it just received is for your account.
Step 1
Once logged in, next to your name is a drop down arrow, click on the arrow and a menu will appear:
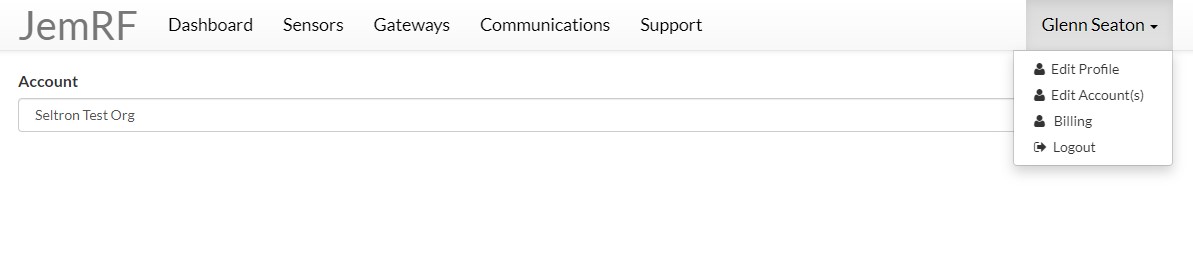
At top select Edit Profile
Step 2
Select the Edit Account(s) option and the edit account page will appear.
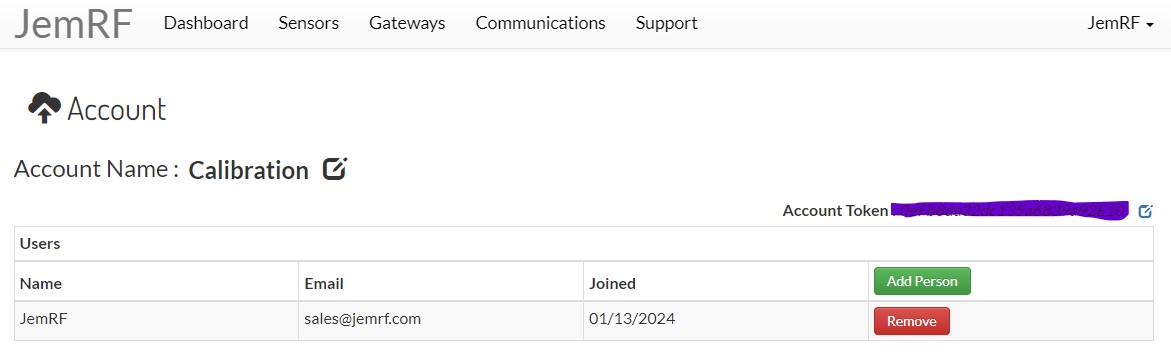
Step 3
Click on the edit icon to the right of the Token Field to get the Create Token form.
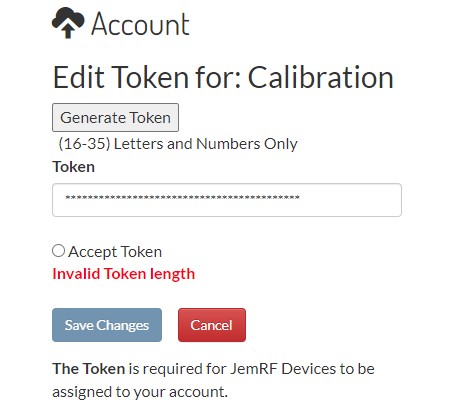
If you have an old PEP token you want to use, you can past it in the Token Field, if not click on Generate Token and a token will be filled in. Click on Accept Token, that validates it is unique, then click on Save to save the token to your account. The Account page will reappear, (page shown in Step 2). Your token will now be shown where the blue line is. You can now copy the token to use on your device setup page.
Monitoring
When you get your device configured. It will start sending to the monitoring service. An icon representing your sensor will automatically appear on the Dashboard. Using the Sensor tab, you can select each sensor and edit the control ranges and give the sensors a name or location code if you want.