Sensors
We have a growing list of sensors that you can see in the Products section of this documentation. The sensors do not require any configuration before its intended use. Each sensor comes pre-configured with settings you can find on each product page. For example if you bought a temperature sensor then it would be configured as a temperature sensor and have the required hardware.
You may, however, want to change some of the configuration of a sensor, like give it a different Device ID, or change the reporting interval. See the configuration section of the documentation for more details on changing configuration.
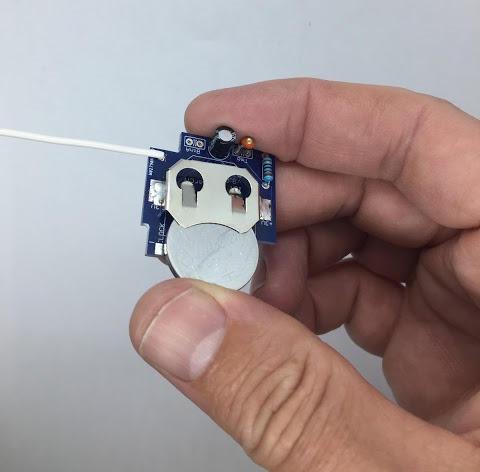
Battery Installation
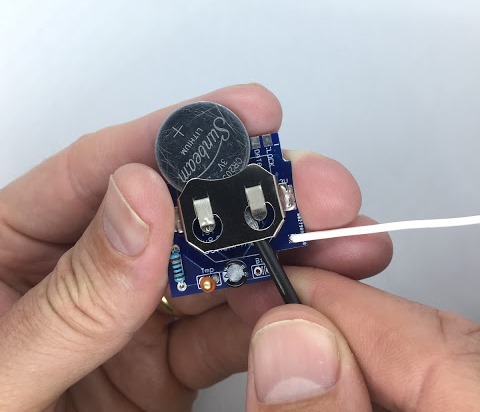
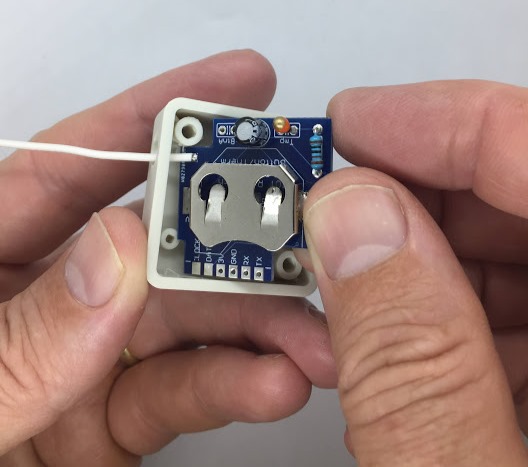
Insert a CR2032 coin cell battery with the flat side (+) facing upwards as show in the picture below.
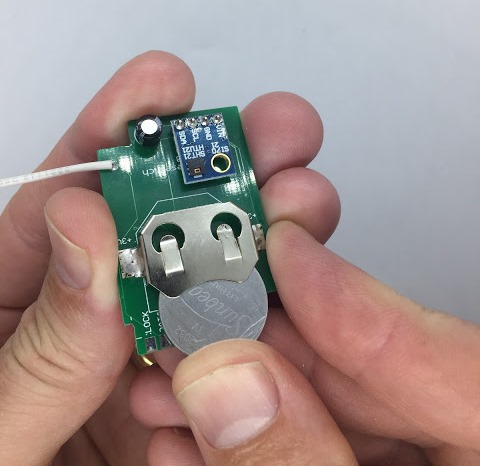
Replacing the Battery
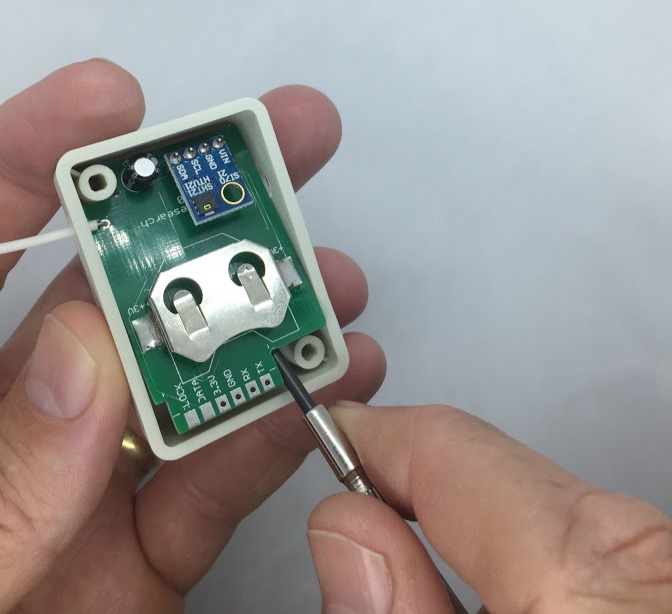
Remove the sensor from the case using a small screw driver to lever the PCB out of the case, per diagram below.
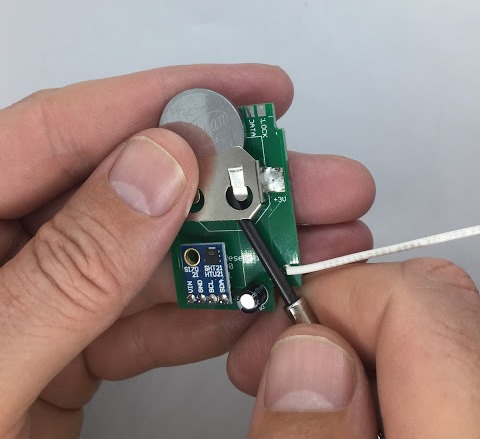
To replace the battery use a small screw driver or some other suitable tool to push out the battery, per diagrams below.
Opening and Closing the Sensor Case
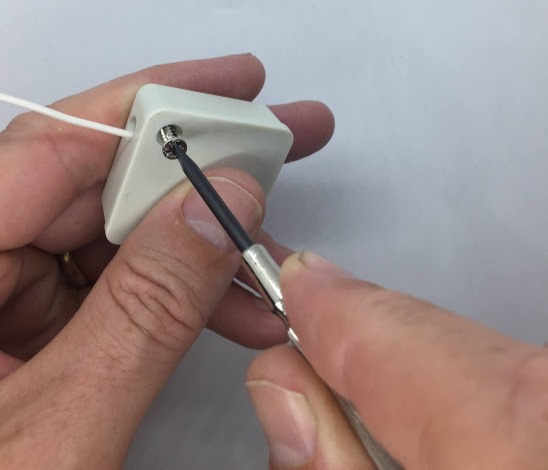
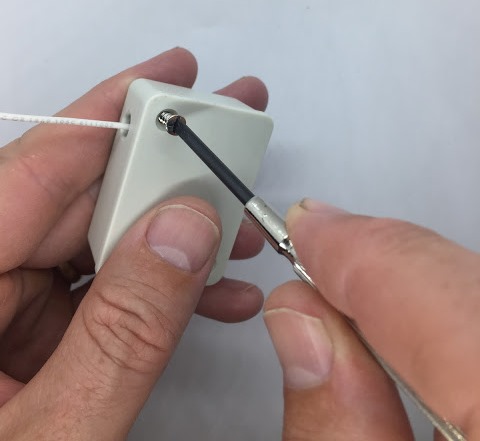
Use a Phillips head screw driver to open and close the sensor case per diagrams below.
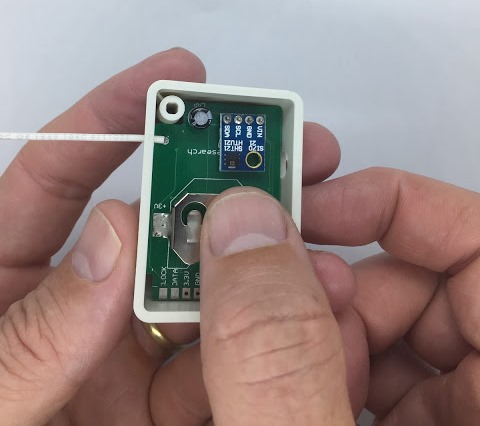
Inserting the sensor into the sensor case
Thread the antennae through the hole inside the case and put the sensor into the case, per diagrams below.
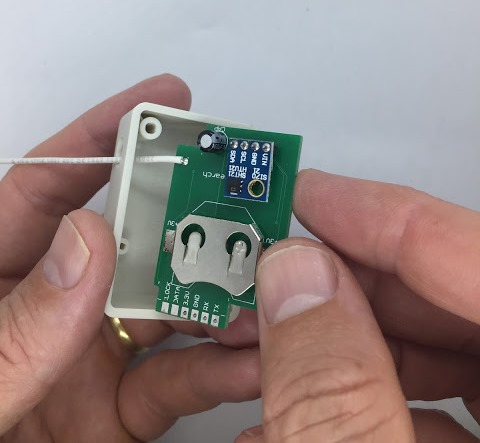
Once the antennae is threaded through the hole gently push the sensor into place.