How to revive an old laptop

Introduction
The COVID lock down has us all glued to our devices and the hunt is on for new devices for everyone in the family. After looking at new PC’s, laptops, Chrome-books and Mac-books I decided to look into installing Linux on a couple of old laptops I have lying around. Microsoft was very keen to get us all to upgrade to Windows 10 but I found that my old laptop (Acer Aspire V5-471, 1.90Ghz, i3, 4GB memory) was so slow it was basically unusable with MS-Windows so it got thrown on the heap of old electronics and forgotten.
I know what you must be thinking - Linux - really?? - visions of green font terminals with no graphics and complicated command line arguments! Linux has progressed leaps and bounds over the years and is now a very easy to install and has a Windows-like graphical interface that is very easy to use. But most importantly Linux is FAST on old hardware!
I have managed to revive two old laptops, the Acer mentioned above and also an old HP-G60 that only gas 2GB memory. Both run fast and I am able to access all my web applications (Office 365, Google Docs, Google Drive, Netflix, Disney++ etc…) without any problems at all. And most importantly no staring at the Windows hourglass for things to load.
What you will need
- An old PC or laptop (not Macbook unfortunately)
- A 4GB USB stick (although 2GB is probably good enough)
1. Download a Linux distribution.
The first step is to download a Linux image that we will burn on to the USB drive. There are many Linux based operating systems out there but we will be using Ubuntu. Ubuntu has may distributions but I chose Lububtu because of its clean and simple user interface, easy of installation and lightweight footprint.
You can see the various Ubuntu ditros here:
In this tutorial I am using Lubuntu 18.04.5 LTS (Bionic Beaver), that can be downloaded here:
http://cdimage.ubuntu.com/lubuntu/releases/18.04.5/release/
You can download a 32-bit version or 64-bit version. I downloaded the 64-bit version. Even though it says its for AMD architecture it works fine on Intel processors too.
2. Create a CD image
Use a disk imaging tool to copy the image you downloaded in step 1 to your USB key. I like the Etcher tool.
Download Etcher from here: https://www.balena.io/etcher/
Launch the Etcher application and click “Flash from file” option and select the file you downloaded in step 1.
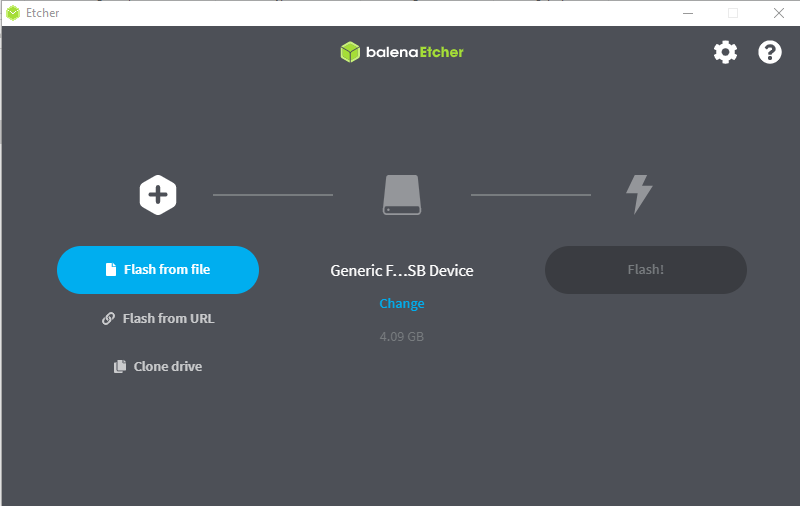
Insert your USB key and it should be detected. If not then click “Change” and select the USB drive. Then click “Flash!”.
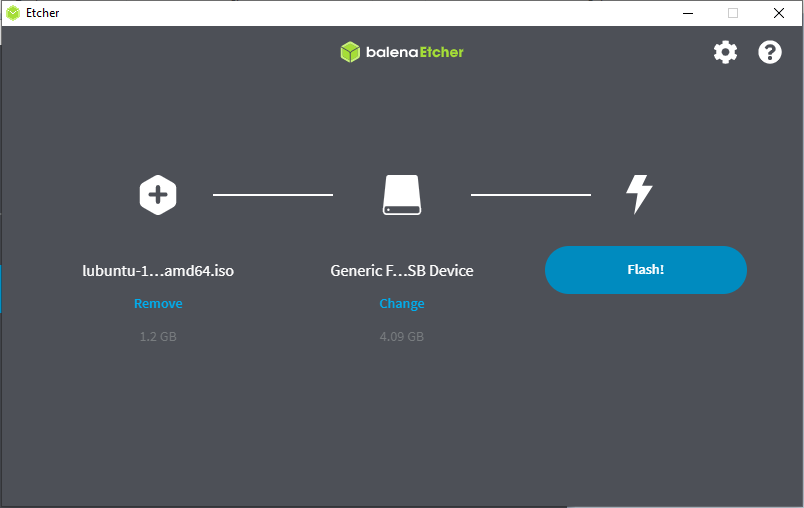
It will take about 5 mins to burn and validate the image.
3. Update BIOS to boot from USB
Insert the USB key into your old laptop or PC. The next step differs from PC to PC and is probably the hardest step in this tutorial. You need to tell your old PC to boot up from the USB key. The step usually entails hitting a key, like ESC or DEL right after you power up the PC. If you don’t know how to boot from USB key then see this tutorial from Tom’s Hardware. Once you are in the BIOS then look for the option that specifies boot order and change it to boot up from the USB drive (sometimes called USB_HDD).
4. Lubuntu installation
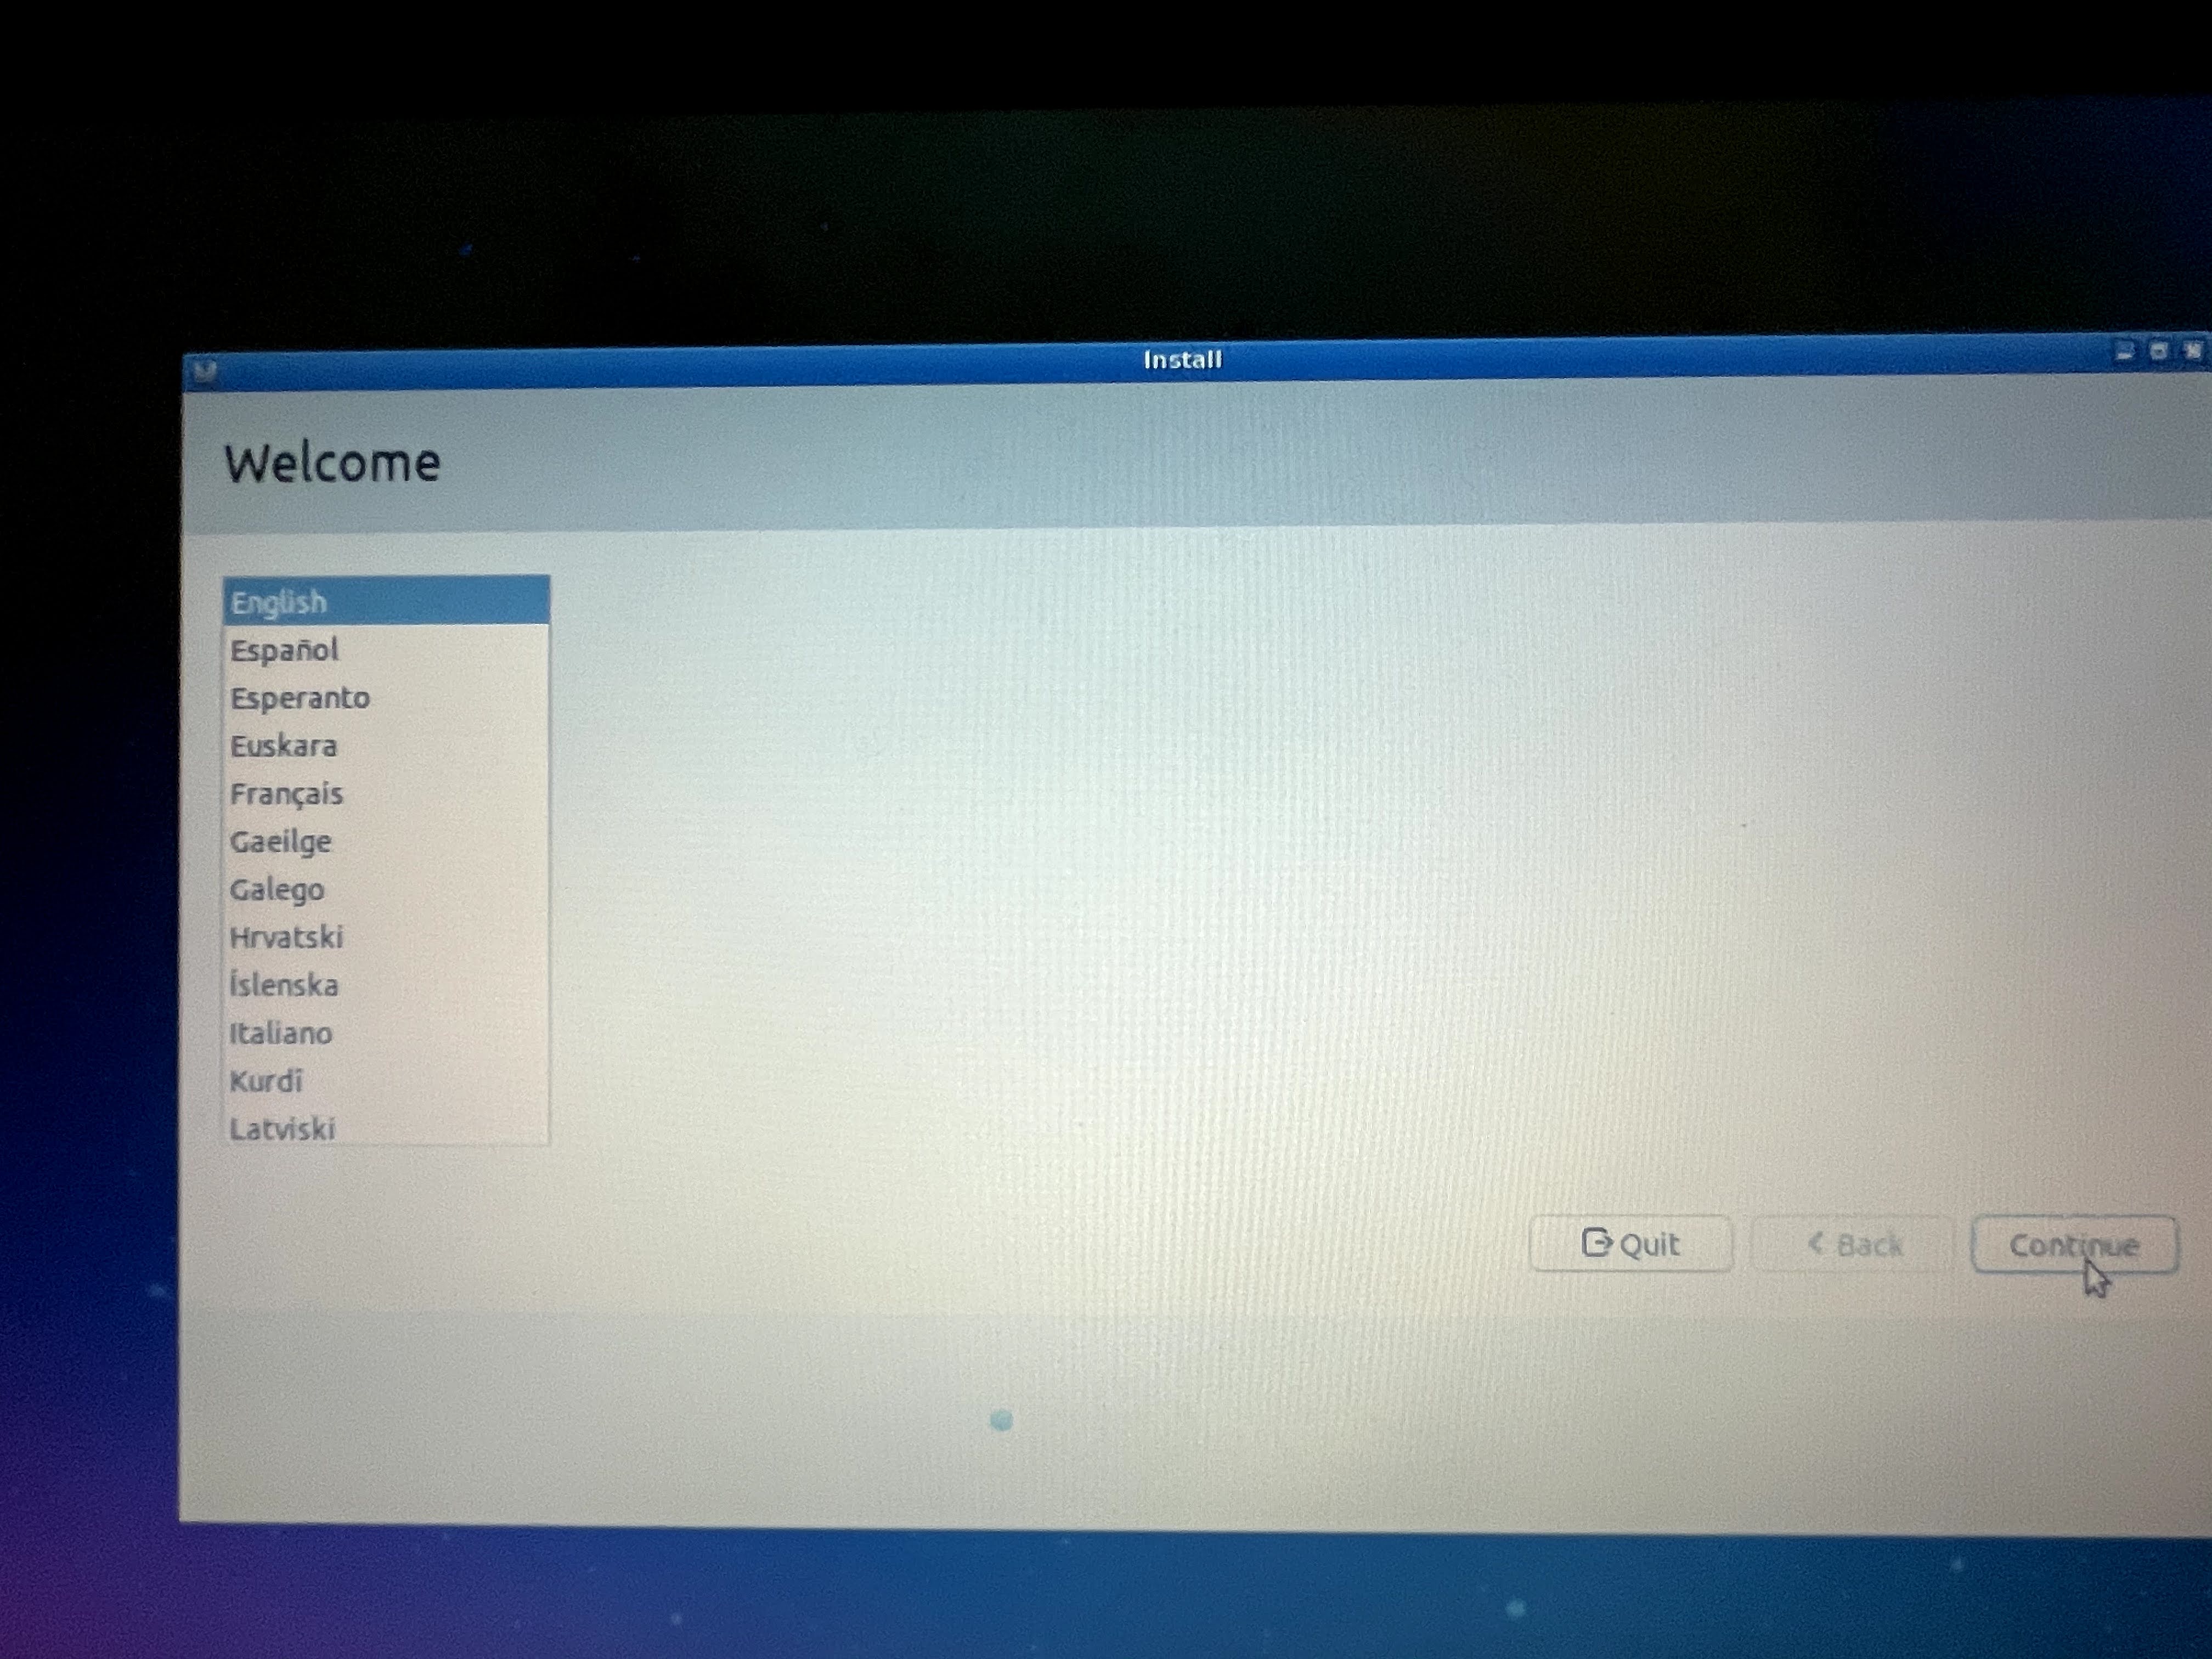
Once you are passed step 3 the rest is a breeze. You will see the following screen:

Select “Install Lubuntu from the menu”.
Select your preferred language:
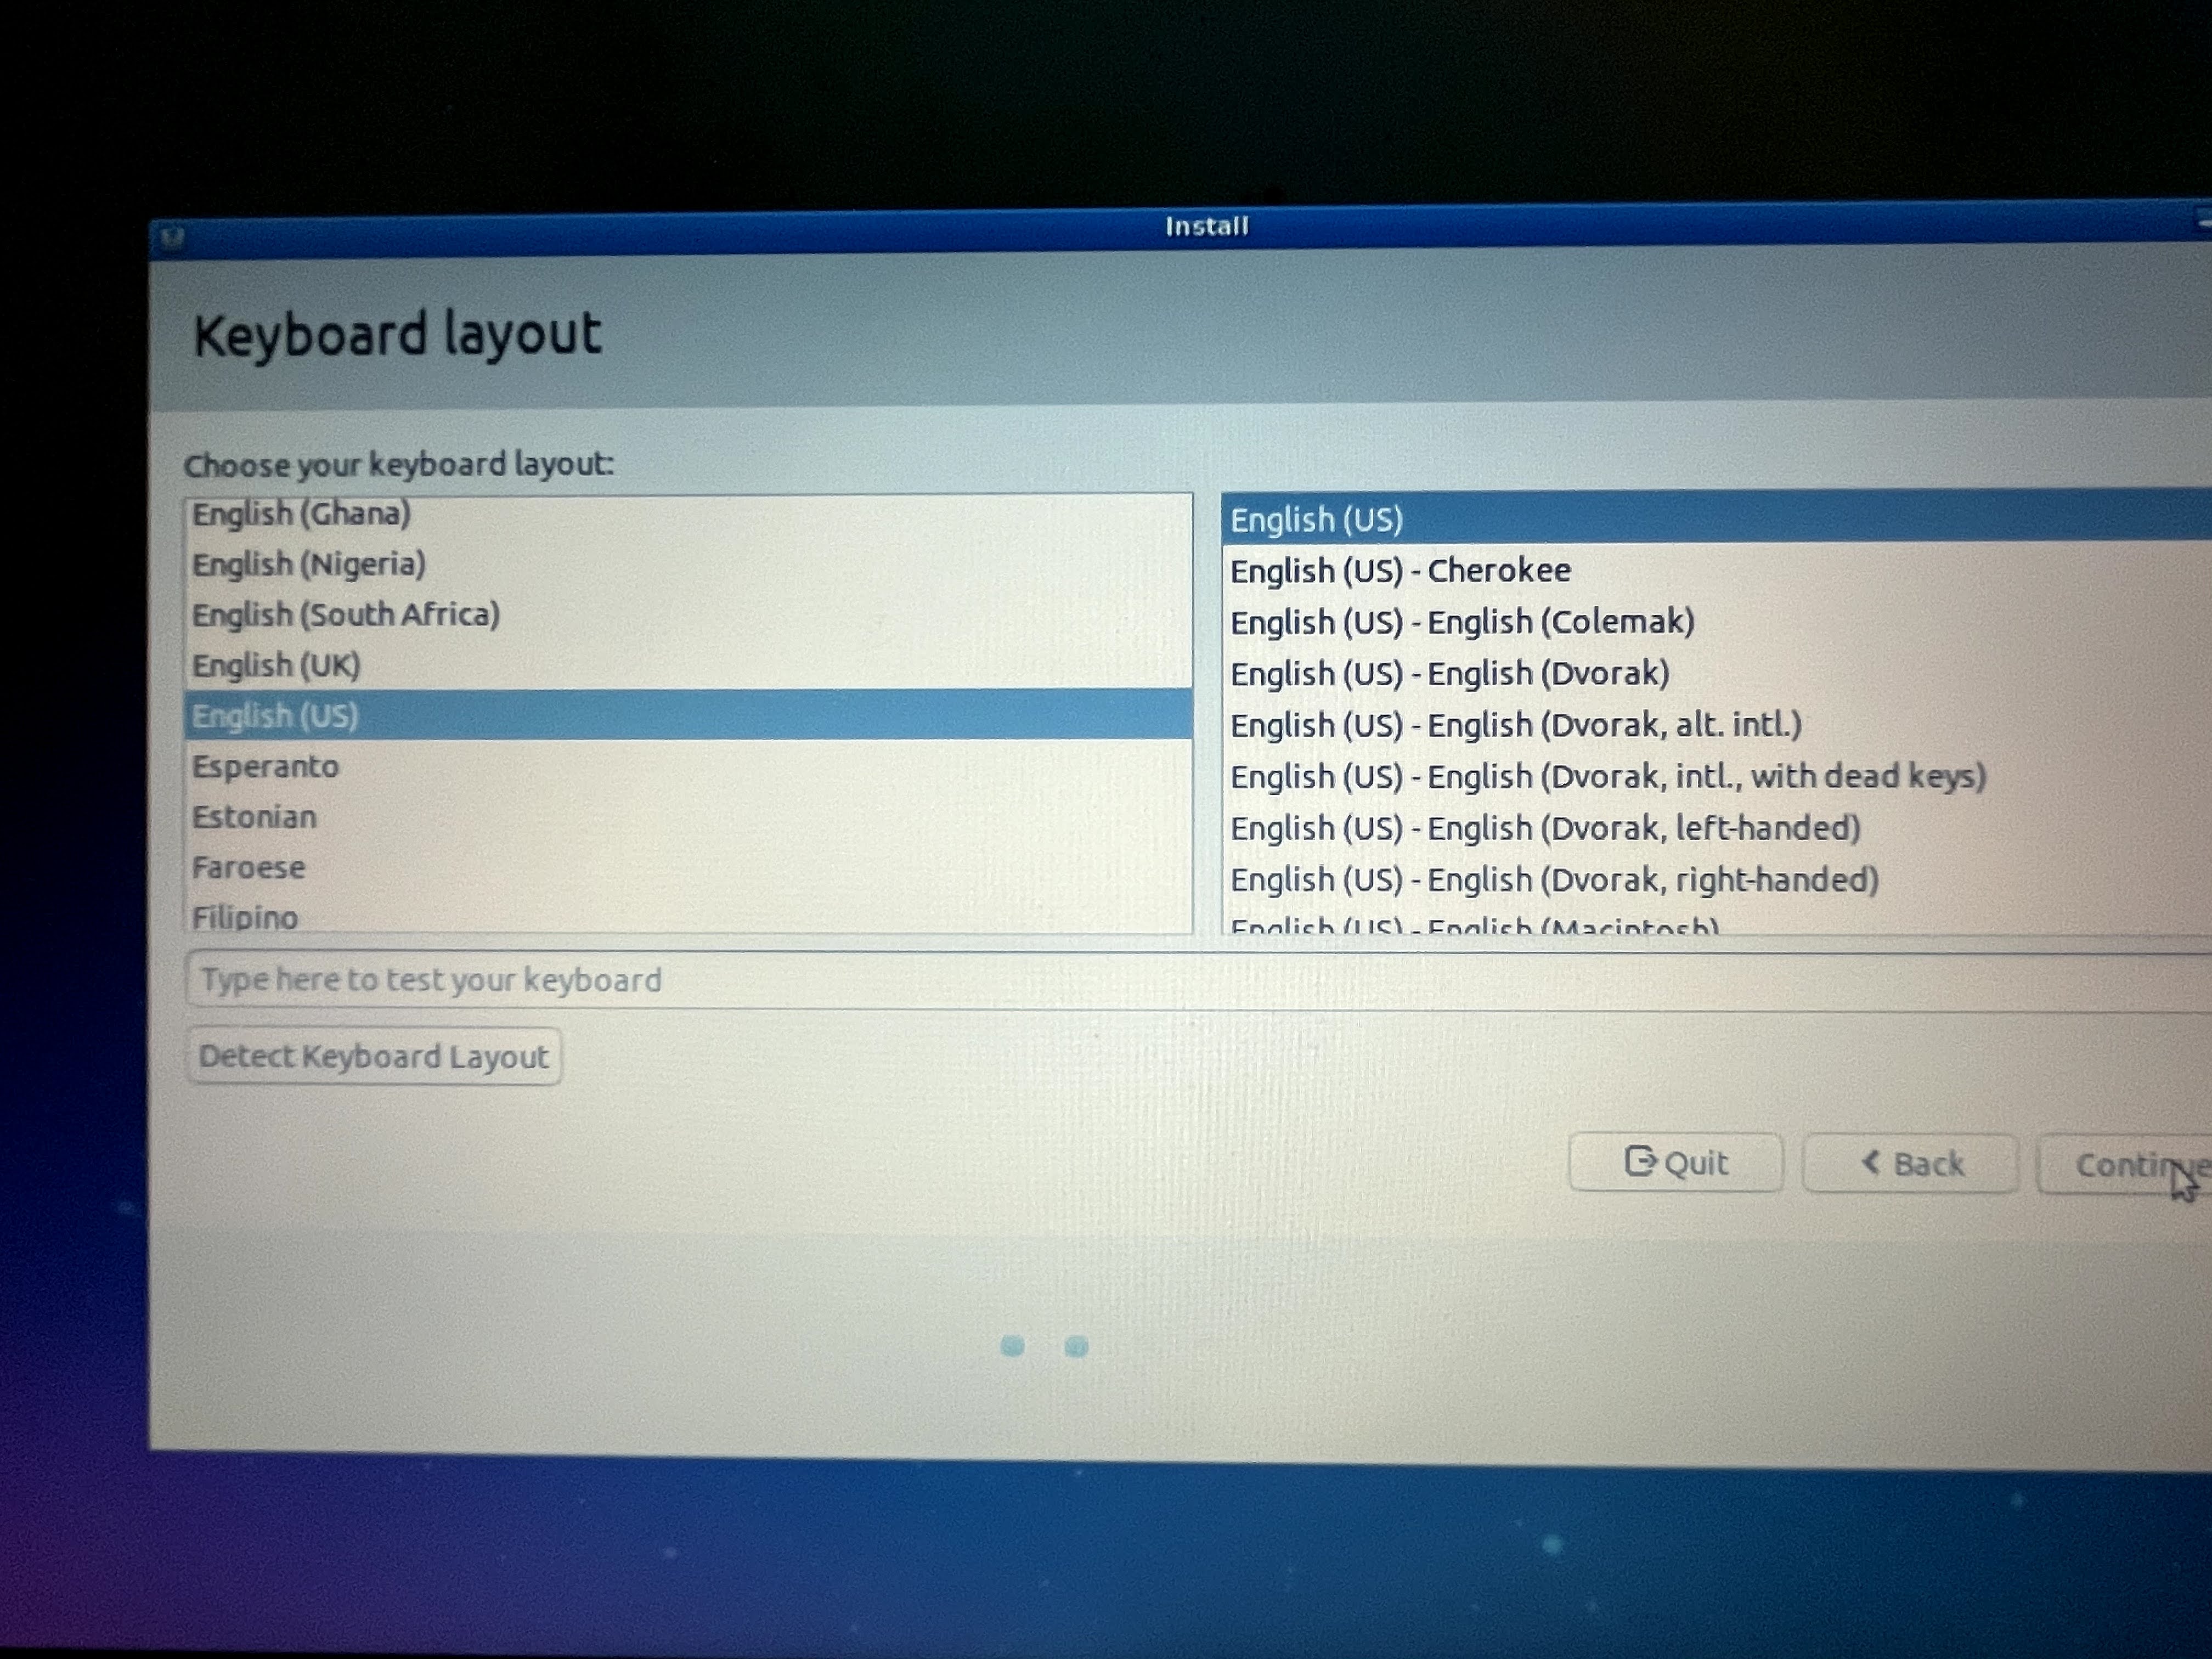
Select your keyboard layout
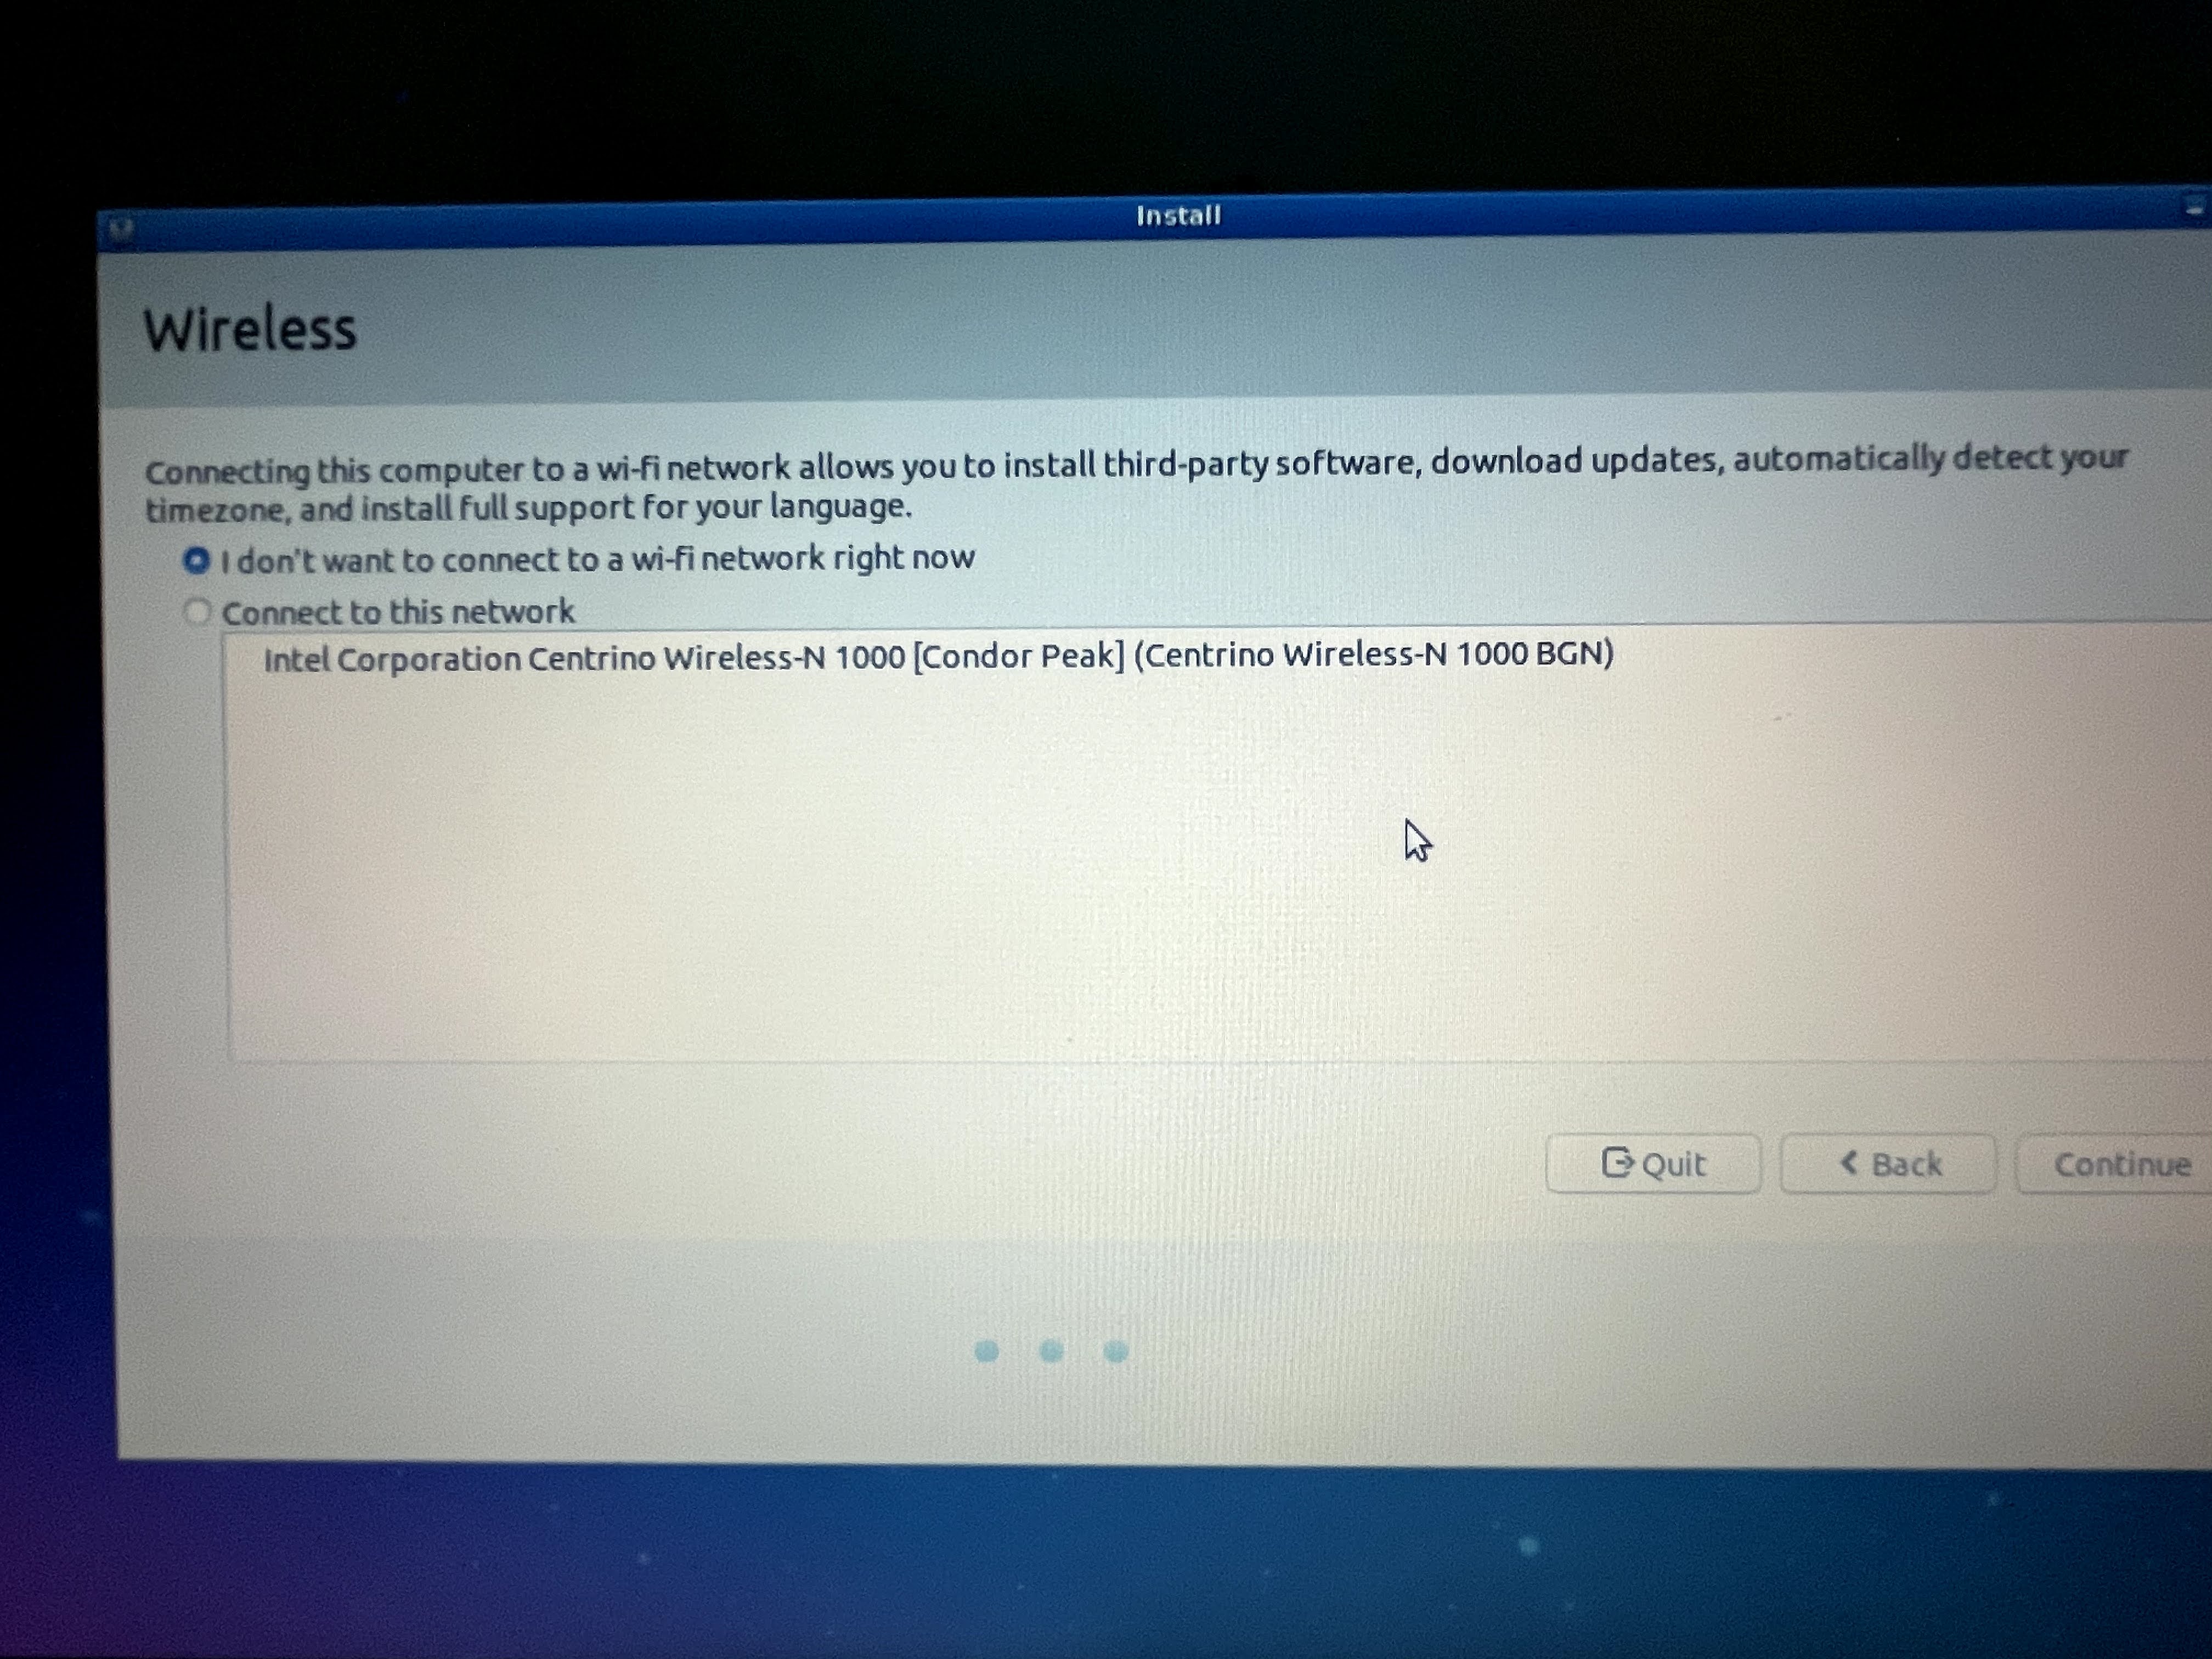
You can enter your wi-fi details here and it will download the latest updates but I prefer to do that later, so select “I don’t want to connect to a wi-fi right now”
(Optional) Connect to wi-fi
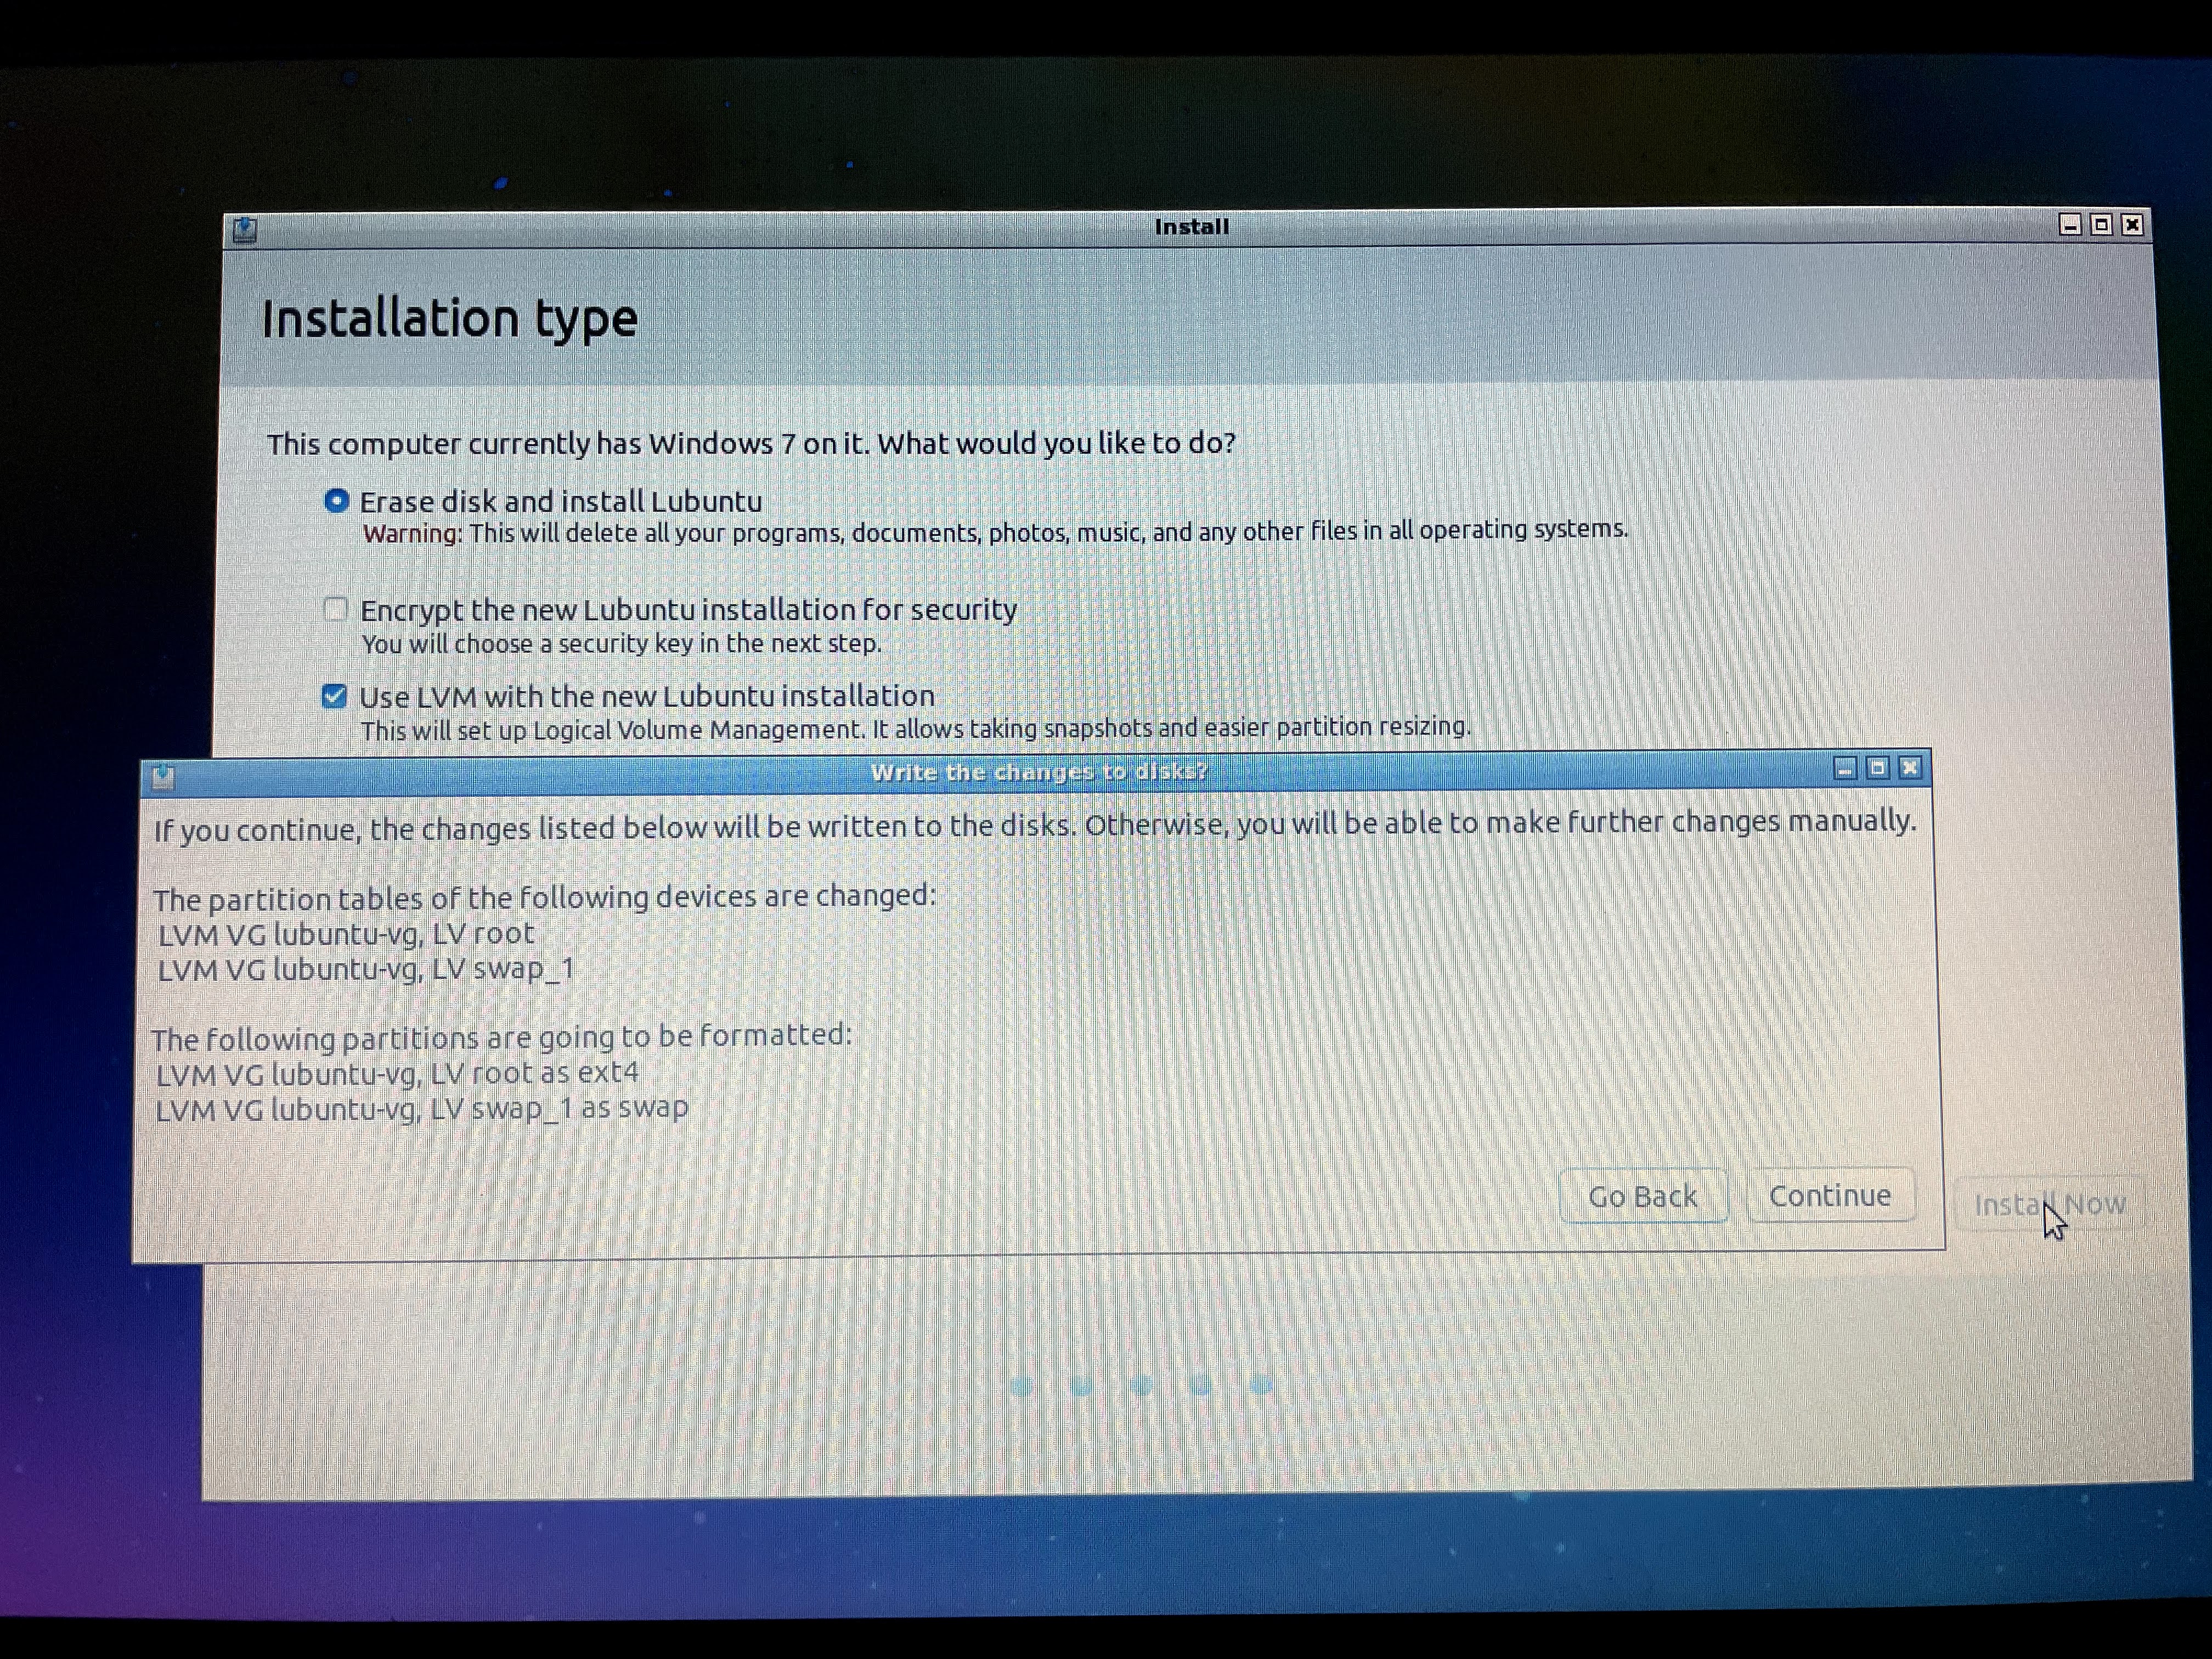
Installation type
Select “Erase disk and install Lubuntu”.

Select “continue”.
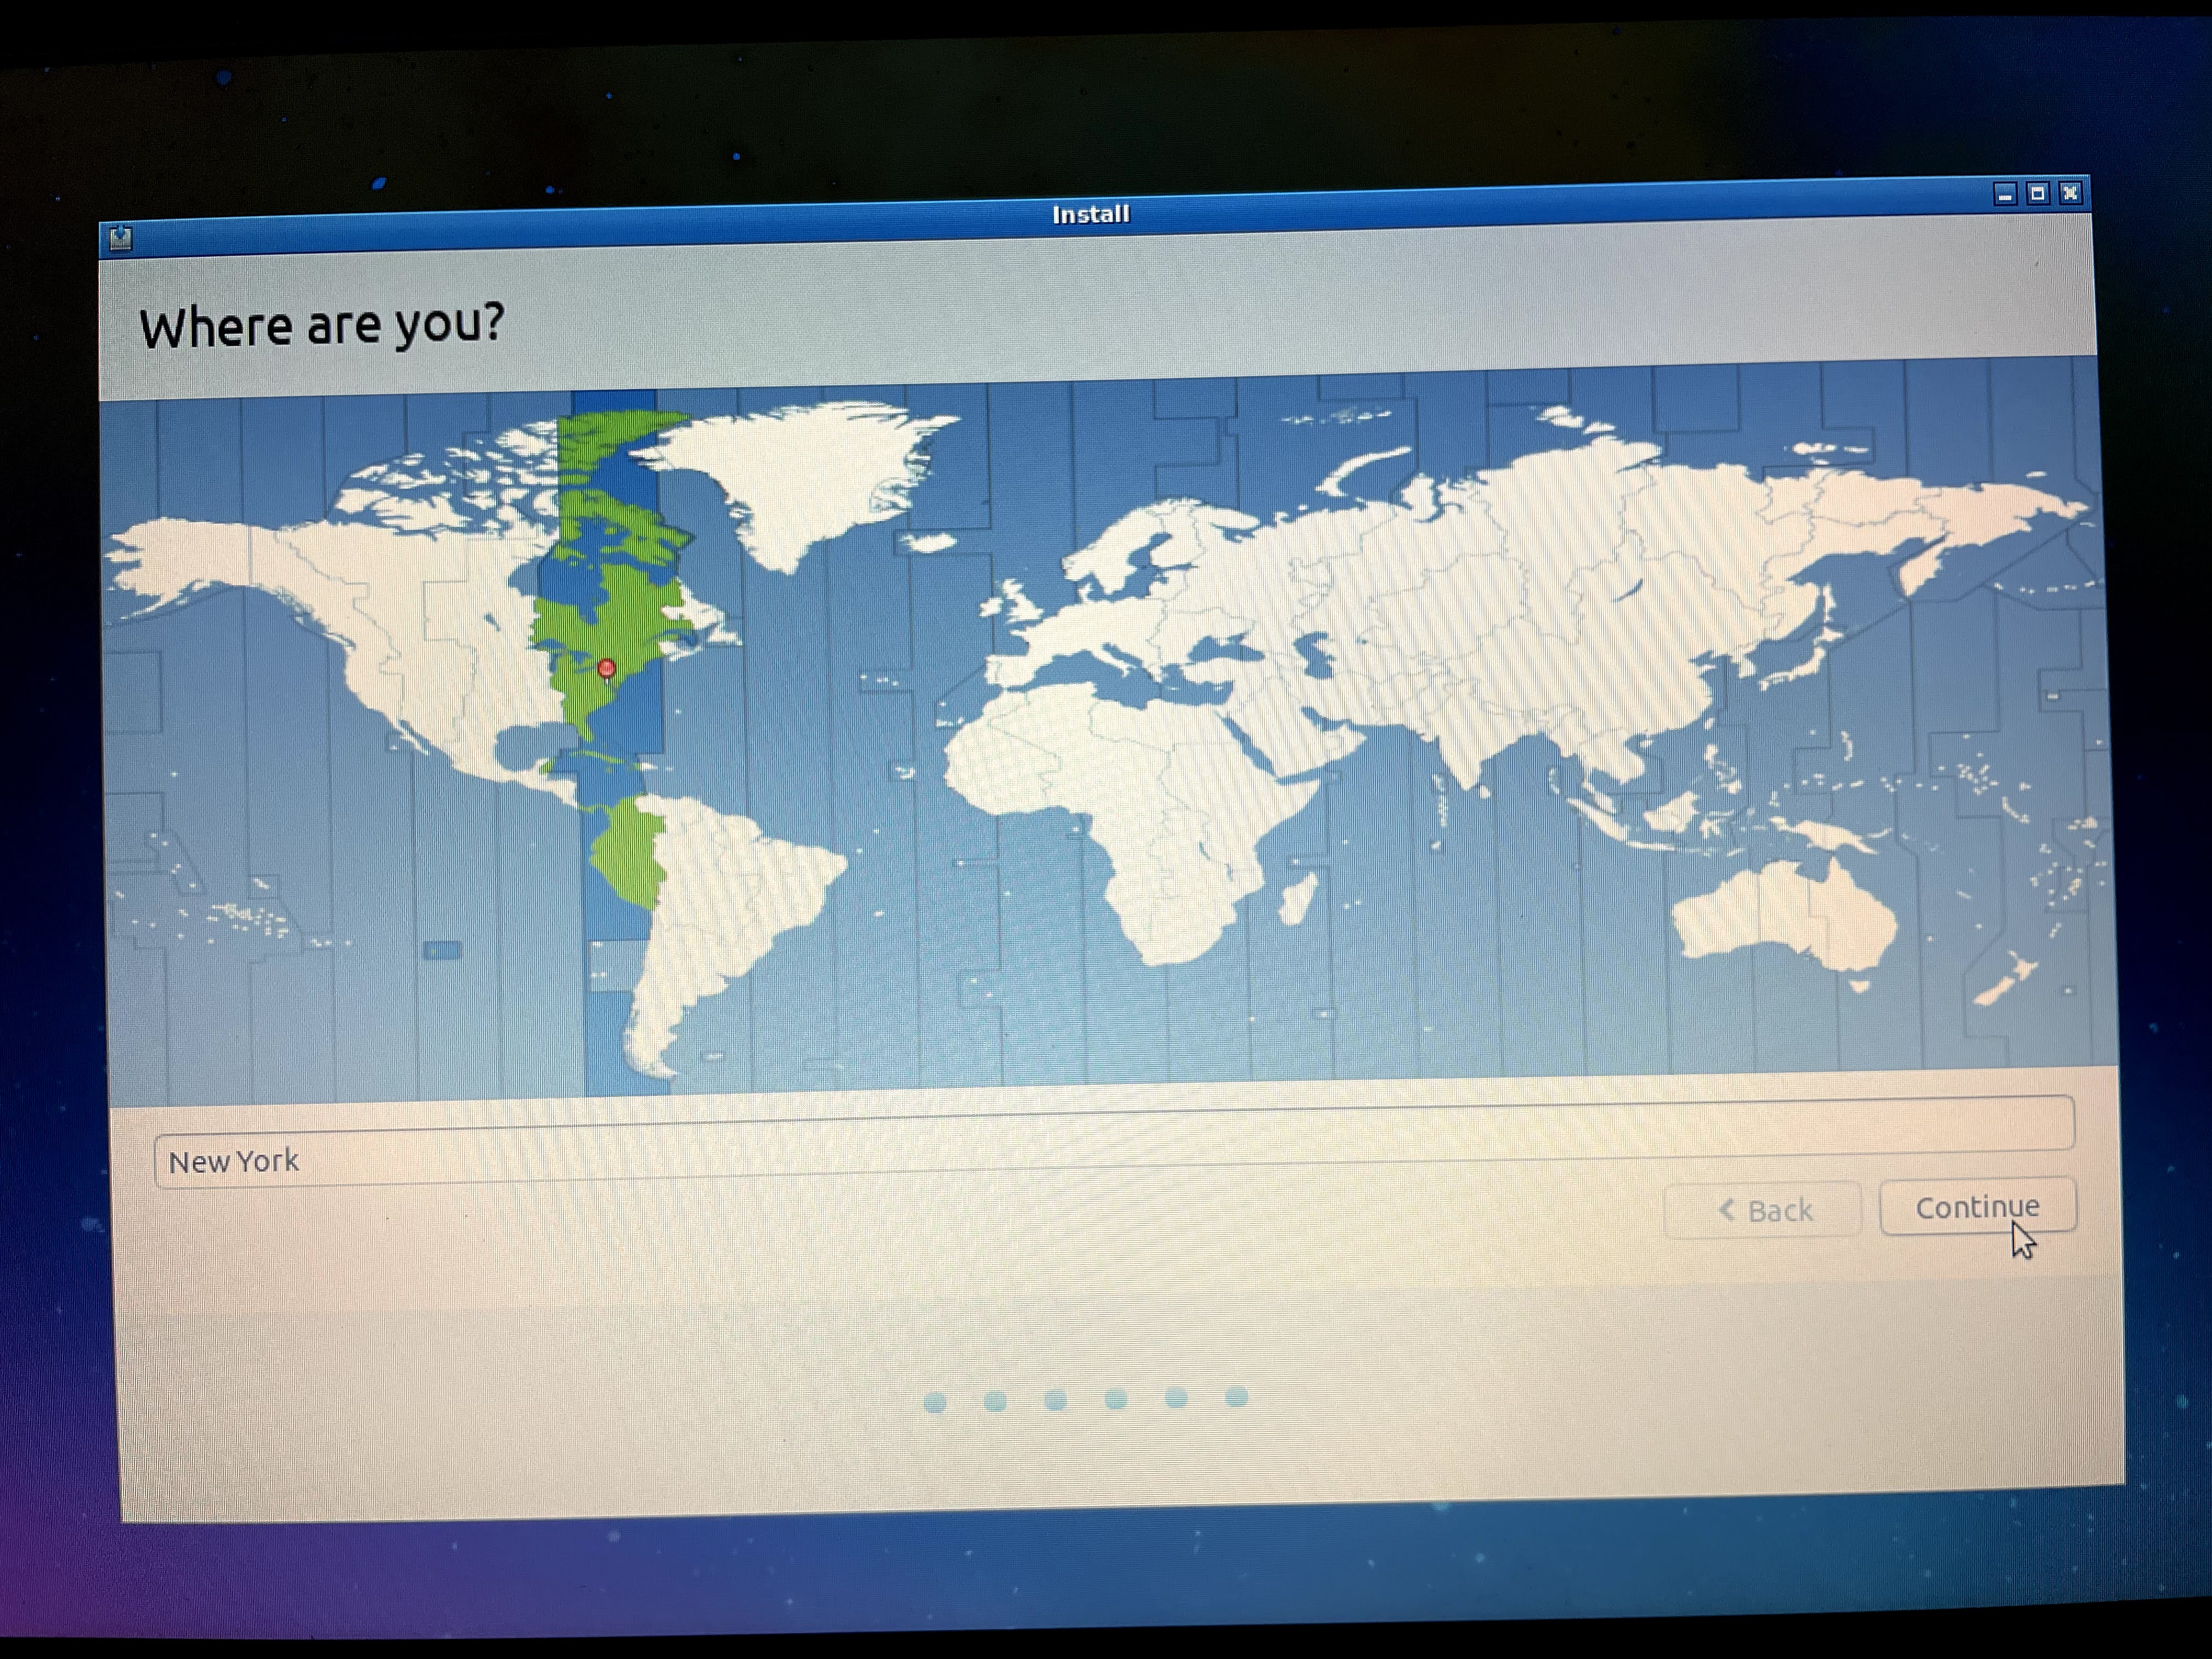
Where are you?
Select your time-zone from from the map.
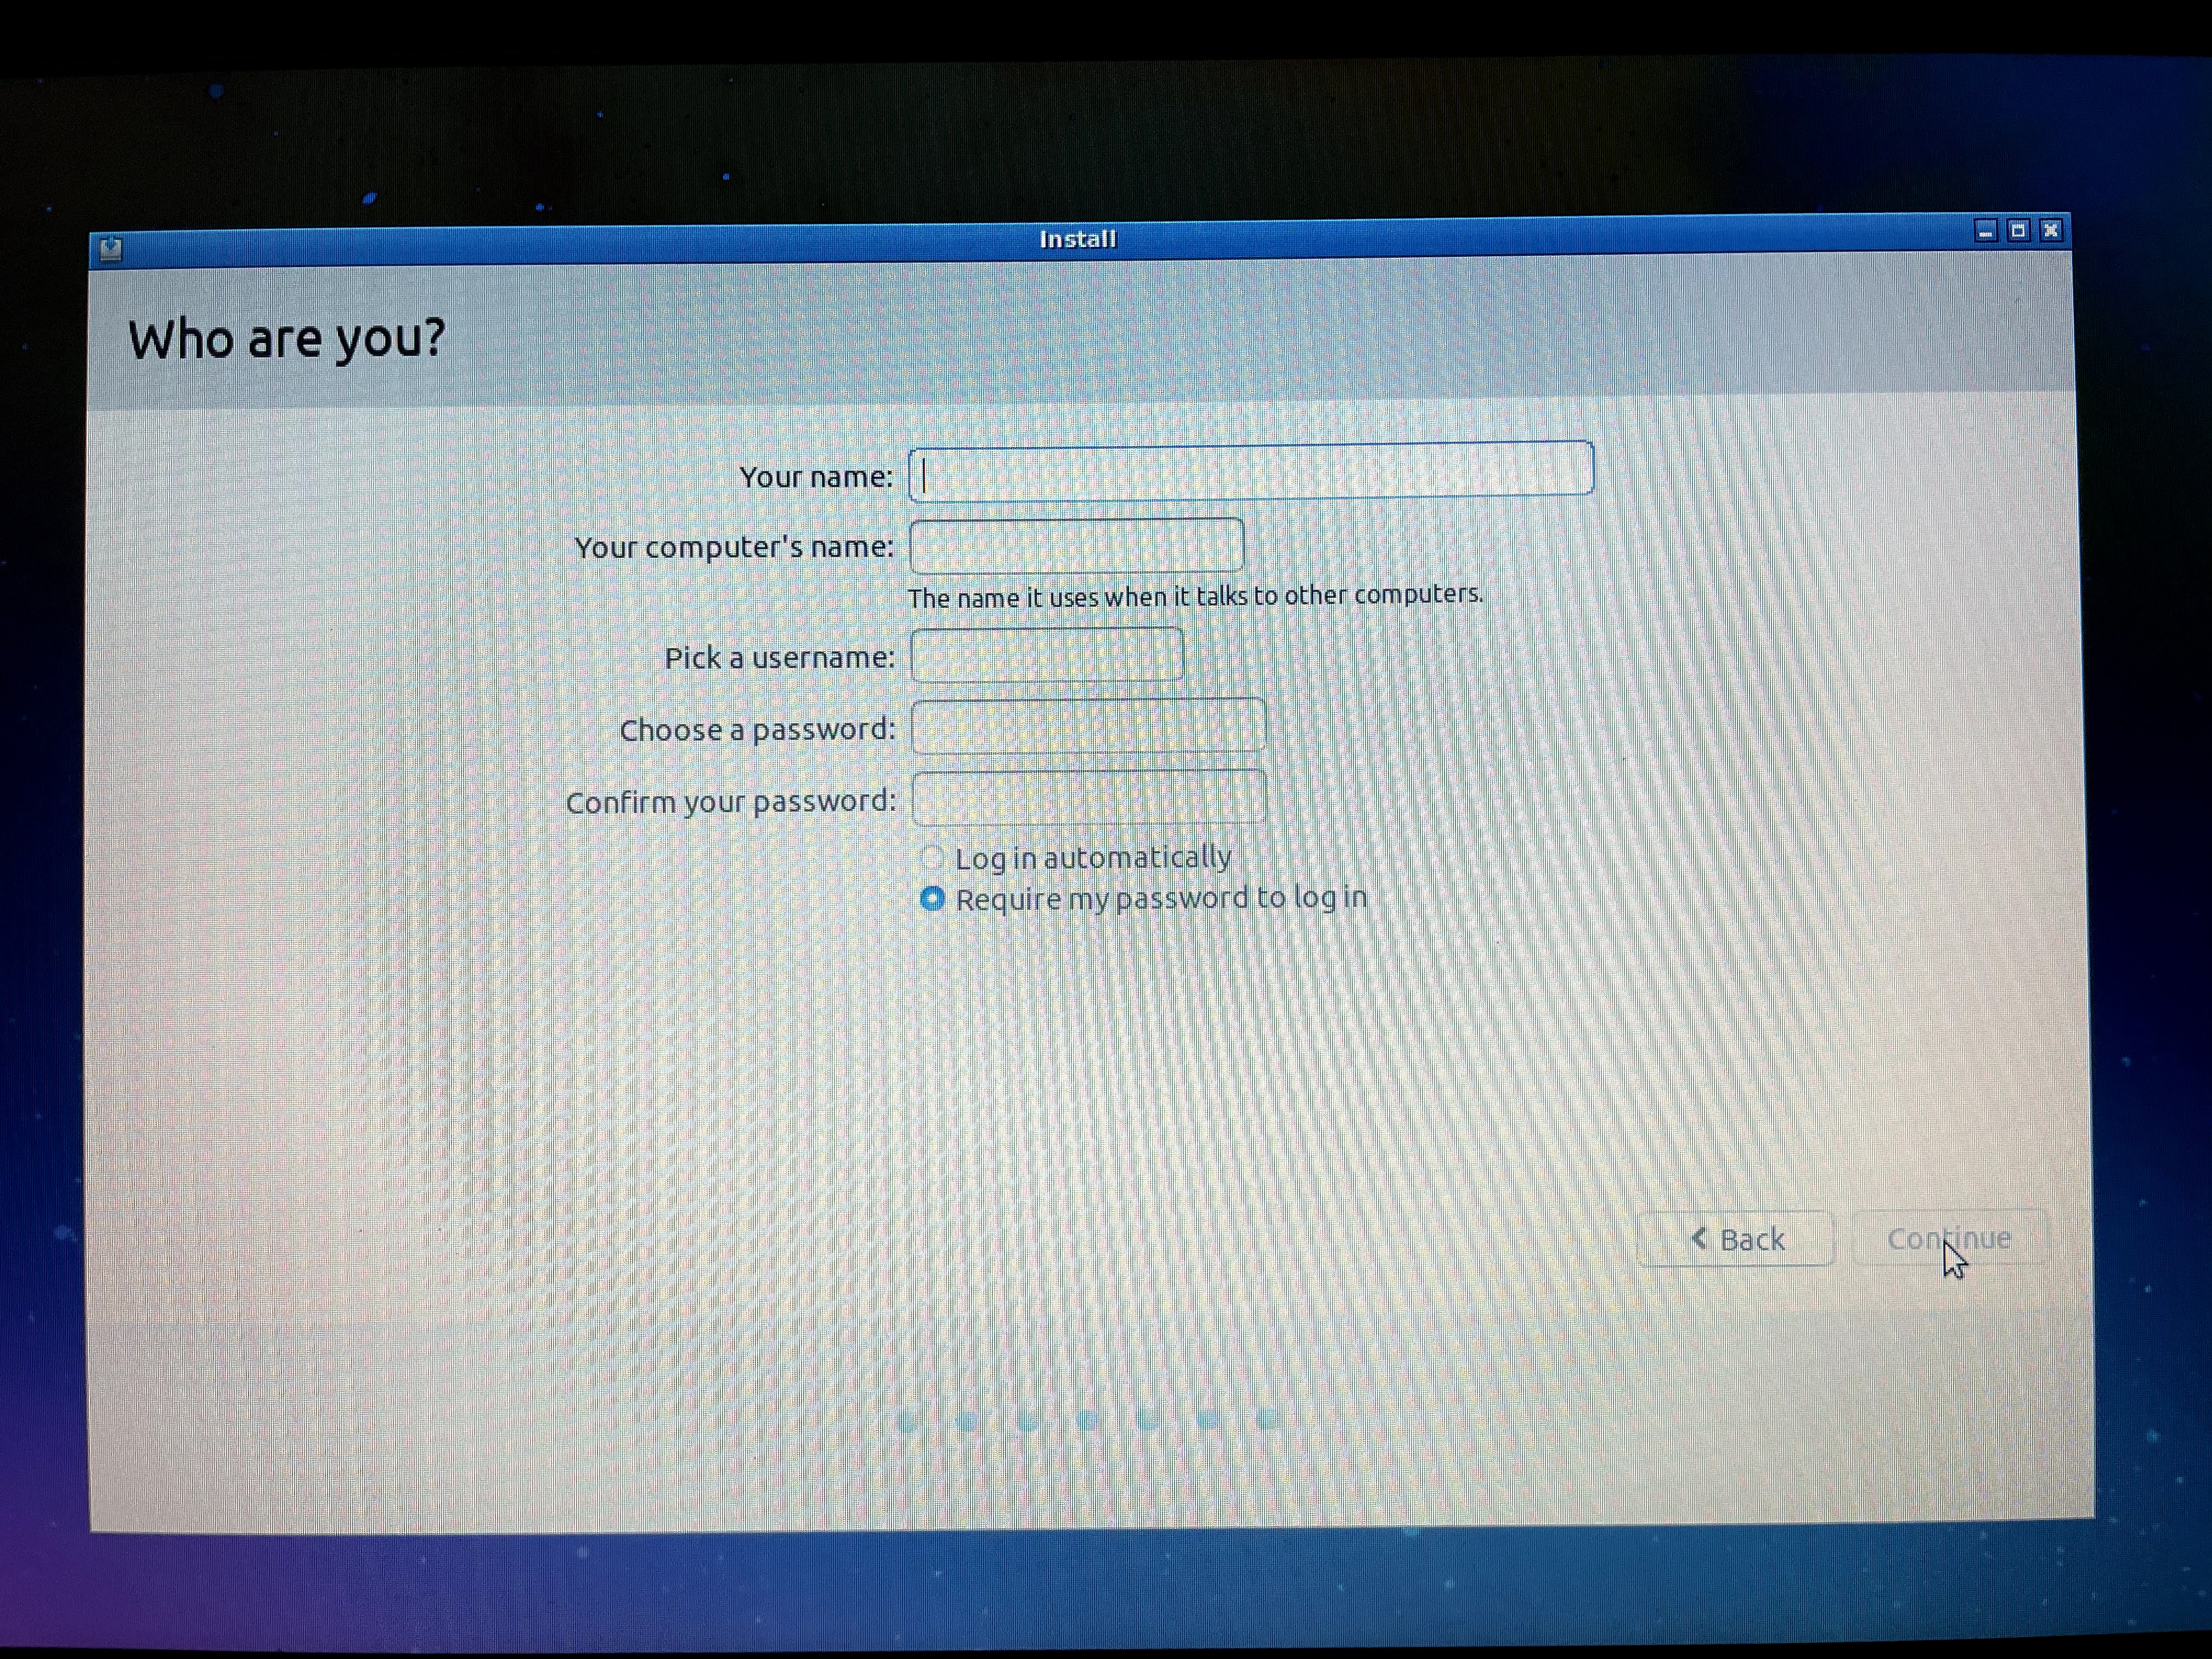
Enter the personal details of the user (name, user name and password).
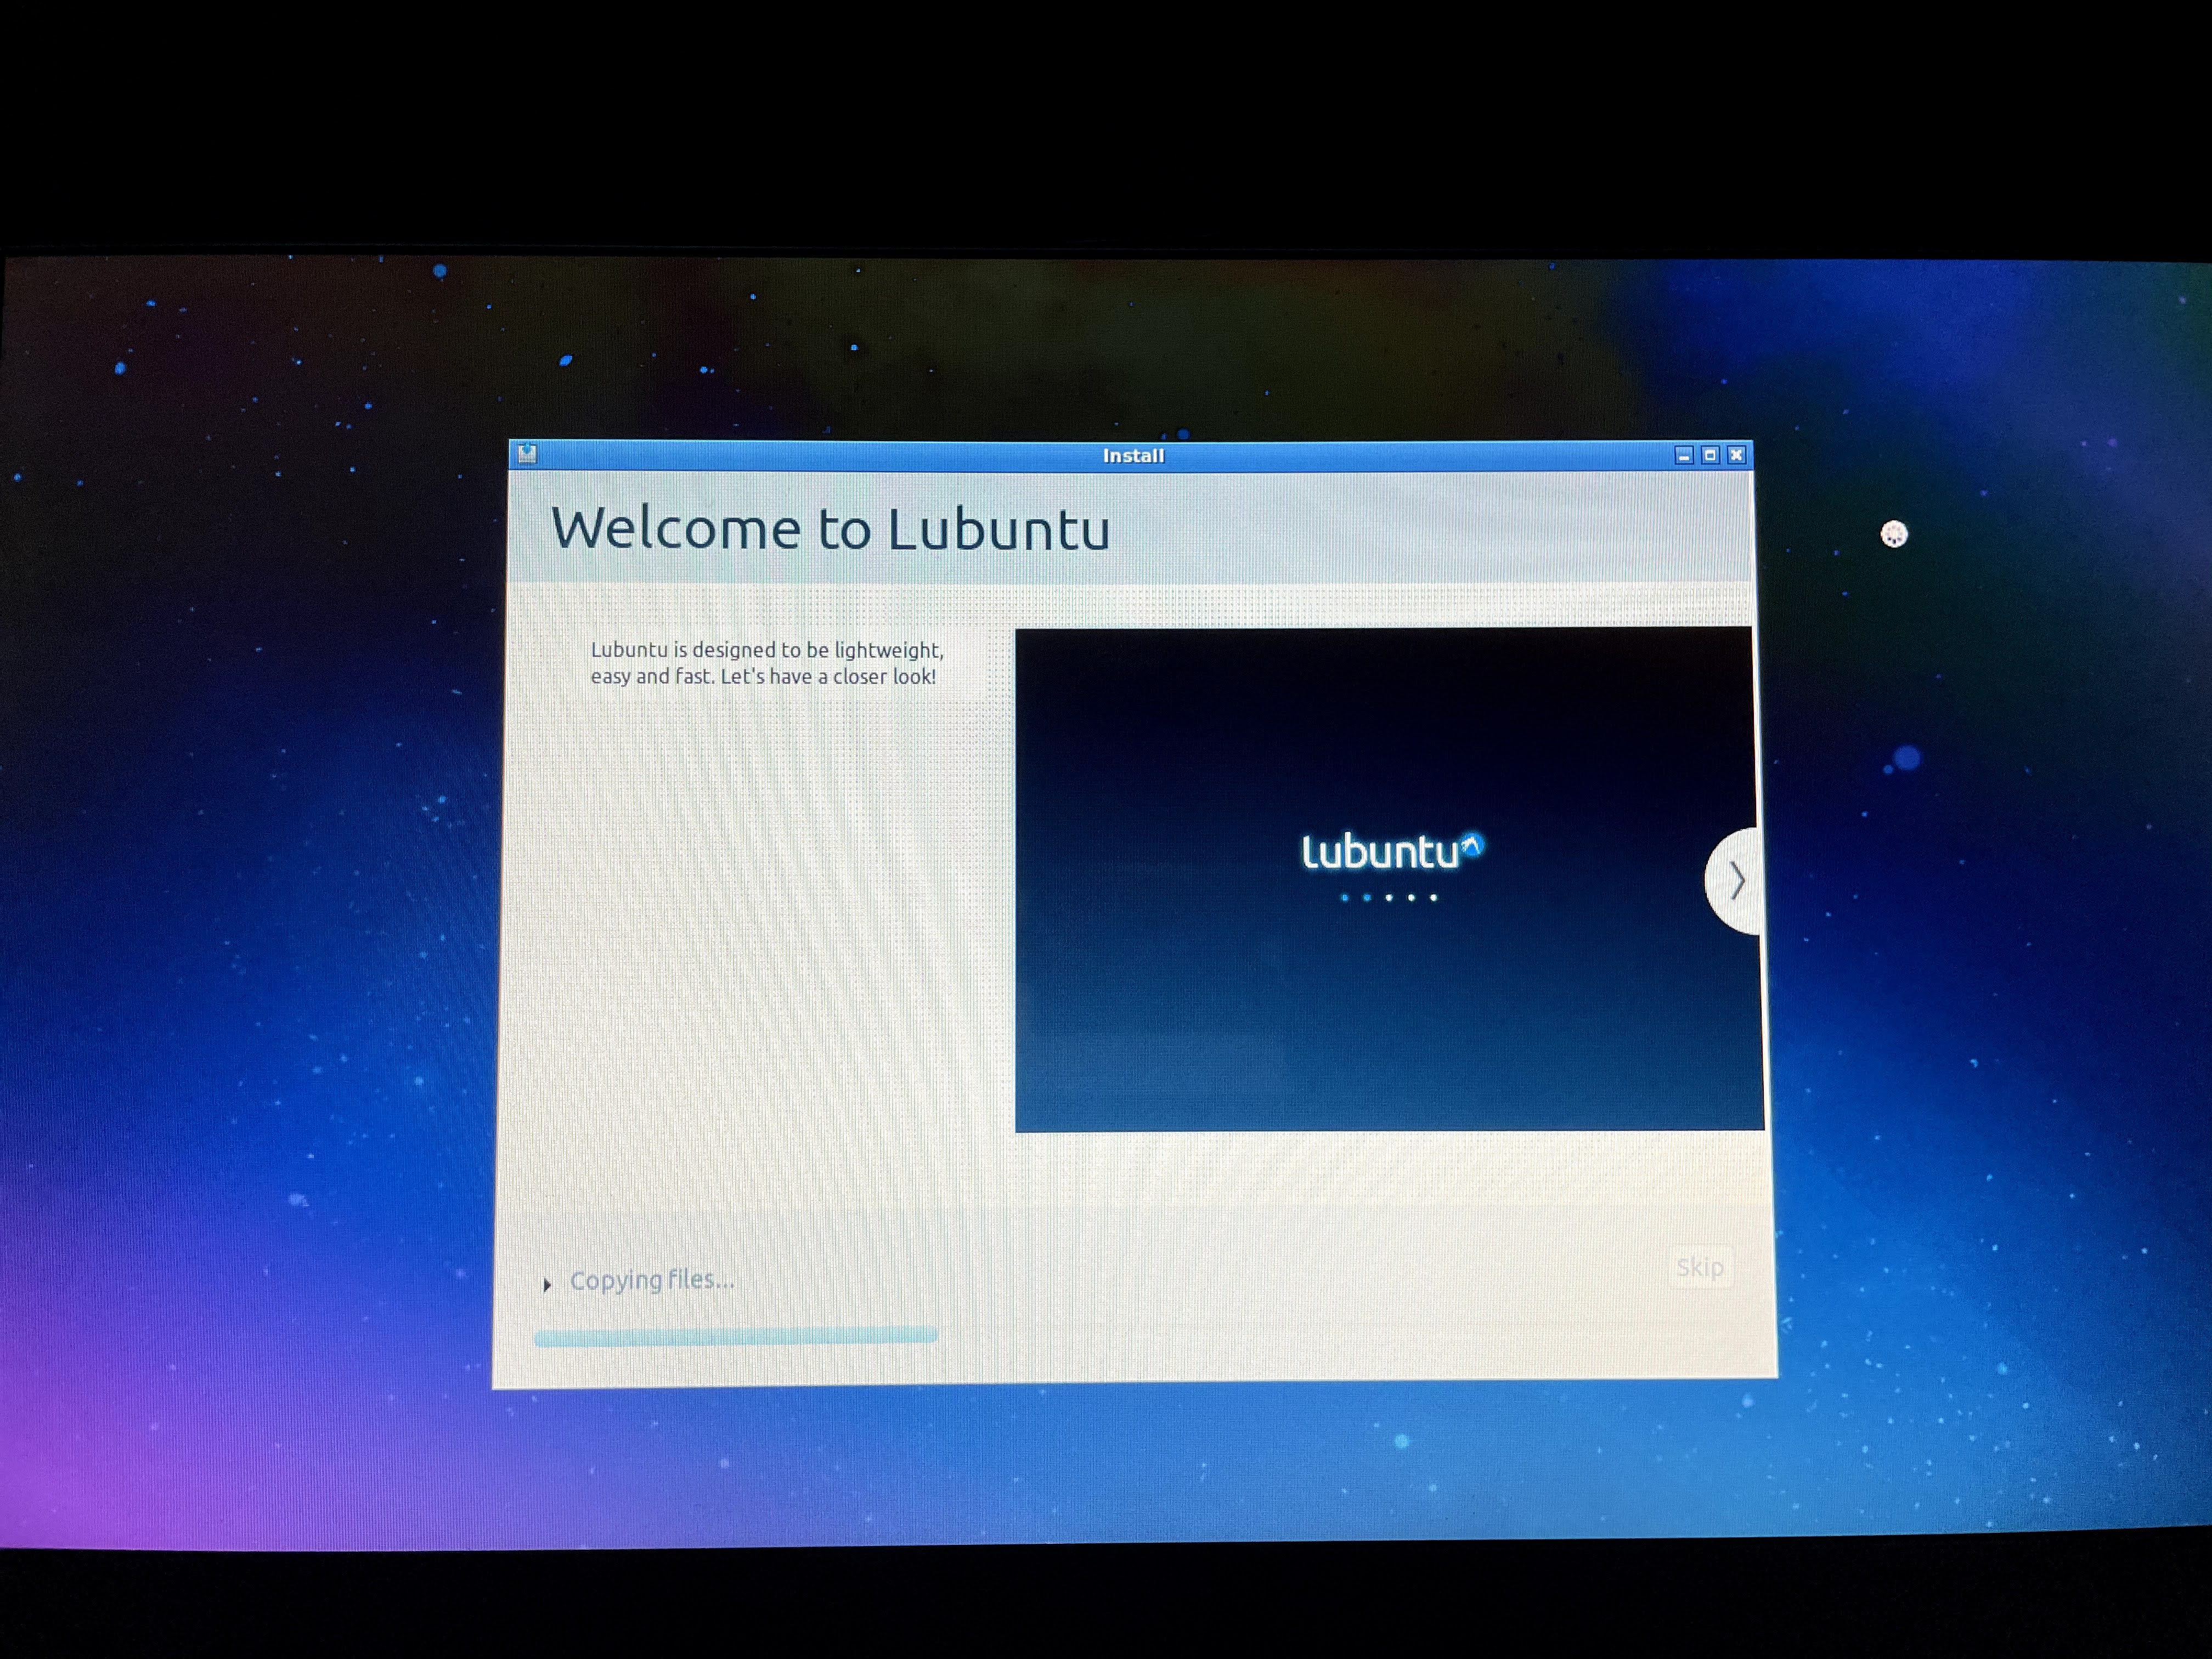
All done!
The installation takes about 10 mins.
Setup your operating system
Now that you have Lubuntu installed there is a small learning curve to get used to the new interface. I found it fairly intuitive but there were a couple things I need to research so I have included them below to get you up and running quickly.
Connect to wi-fi
In the bottom right tray there is a wi-fi indicator that you can left-click and a menu will pop-up where you can select your wi-fi SSID and enter your wi-fi password.
Open a browser
The standard browser is Mozilla Firefox, but I prefer Google Chrome so I have included steps below for how to install Chrome. You should be able to perform all your usual acitvities in the browser like access your email, use online streaming applications, Office 365, Google Docs etc…
How to install new applications
Installation of new applications is a little different to Windows. Firstly, Windows applications can’t be installed on Linux. However Linux is starting to be supported by the mainstream software houses and you can find Linux clients for mostly anything. For example below are the steps to install the MS-Teams client, Zoom client and Google Chrome.
The steps to install a new application are:
- Download the .DEB file
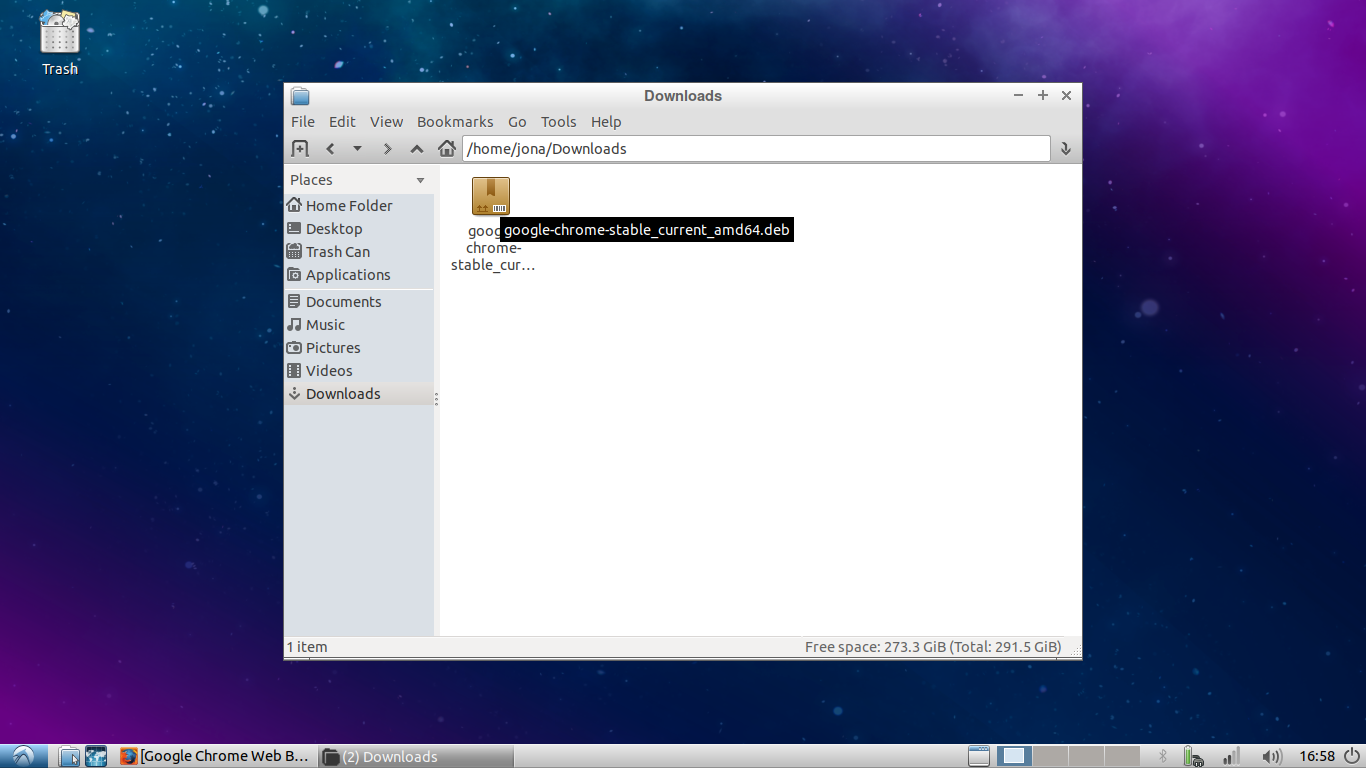
- Open the File Manager (left hand side of the system tray)
- Select the Downloads folder
- Right click the .DEB file and click “Install Software”
- Follow the on screen prompts
The below examples follow these 5 steps.
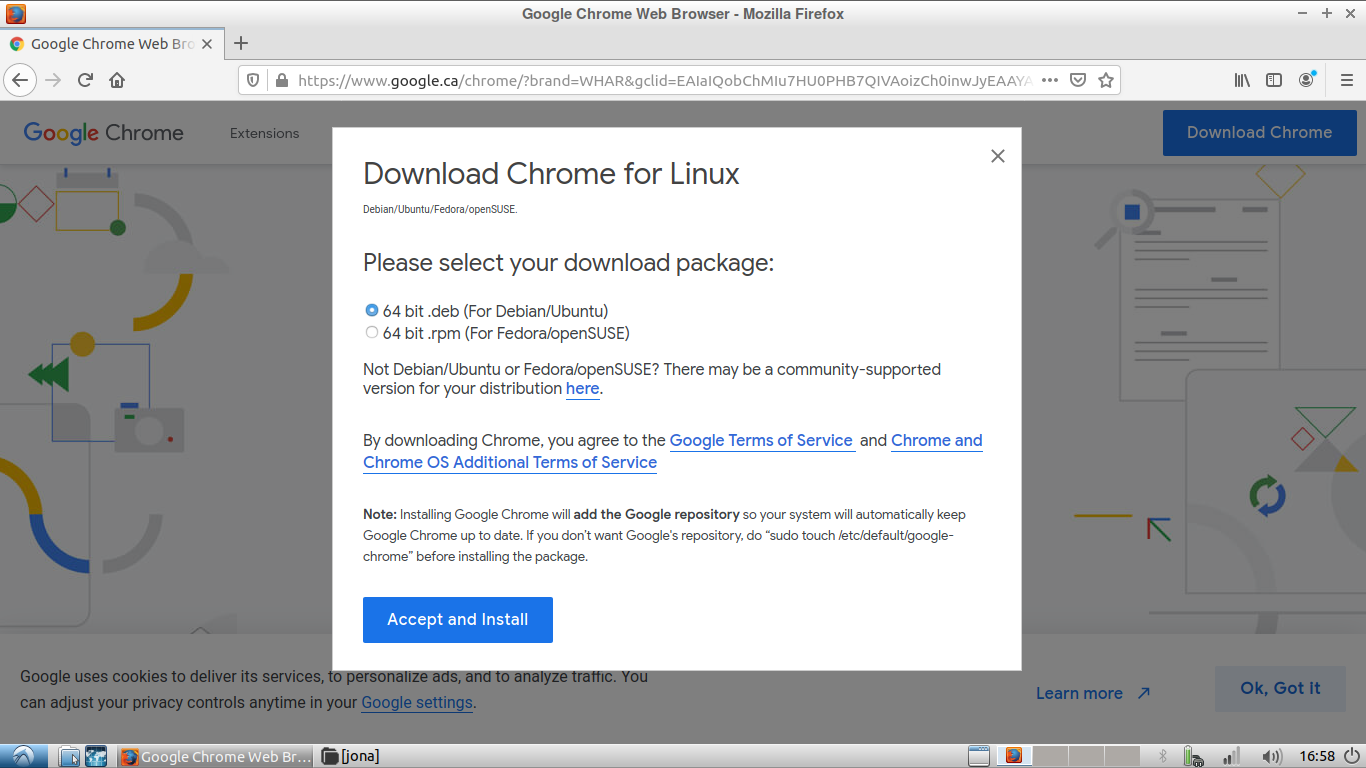
Install Chrome
Install Chrome by using the Firefox browser to go to www.google.com and search up “Download Chrome”. Then download the 64-bit Debain/Ubuntu .DEB file.
Click the “Save file” option. This will save the file to the download folder in File Manager.
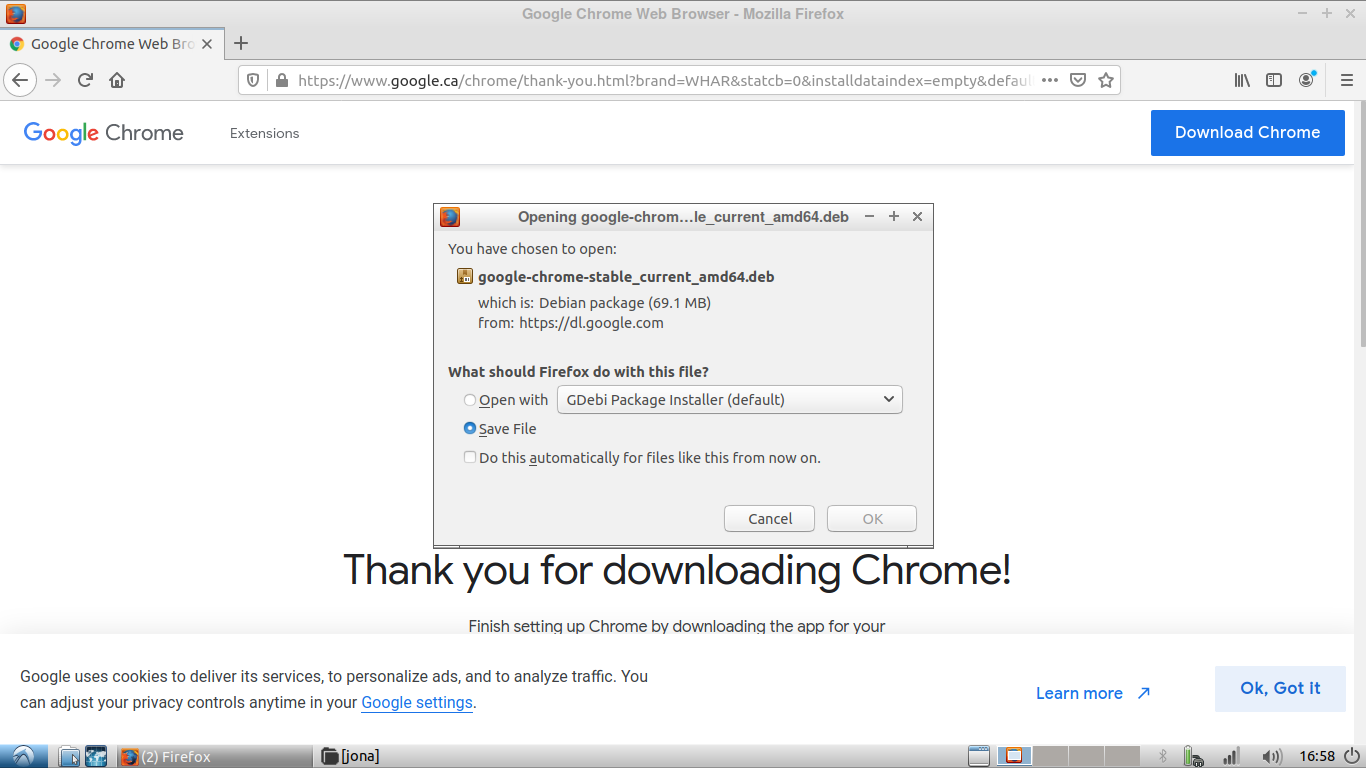
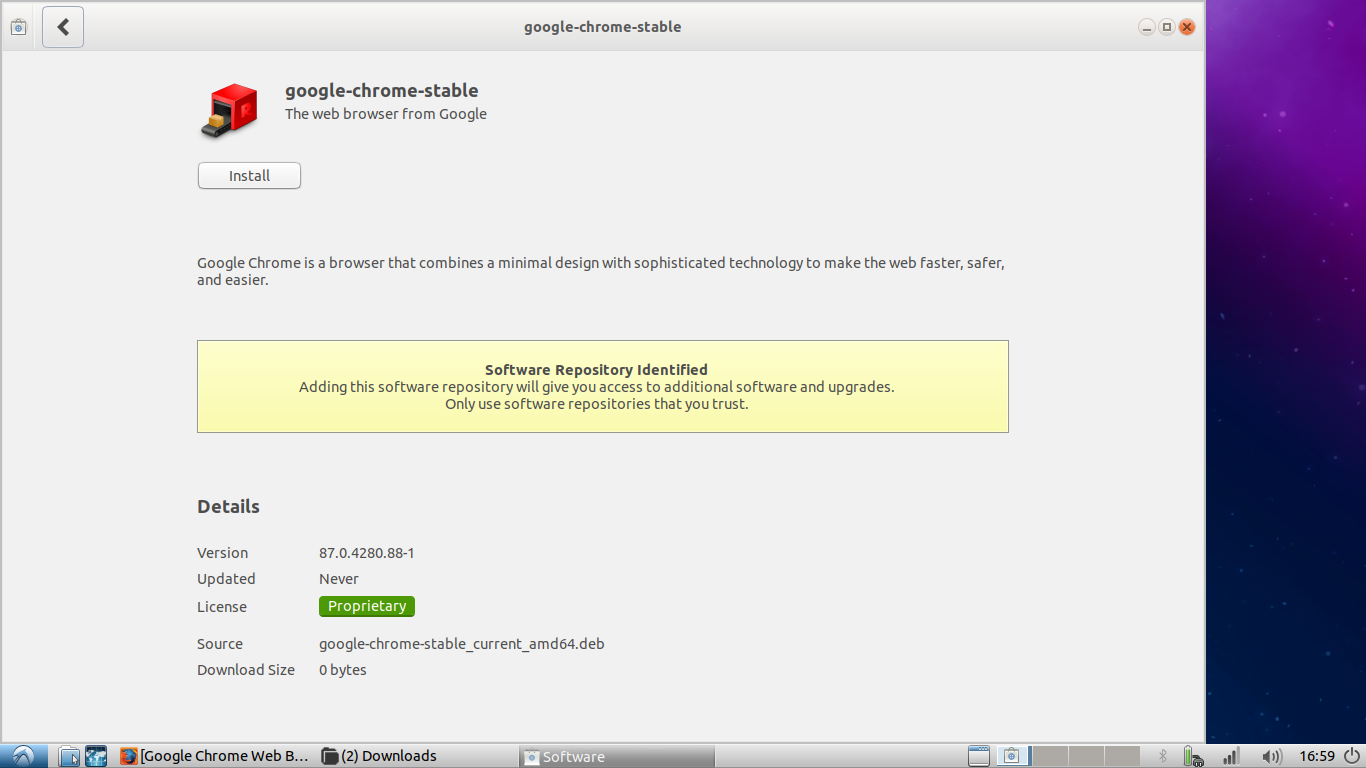
Open up File Manager (left hand side of the system tray) and open the Downloads folder. Right click the chrom .DEB file and click “Install Software”.
Click install.
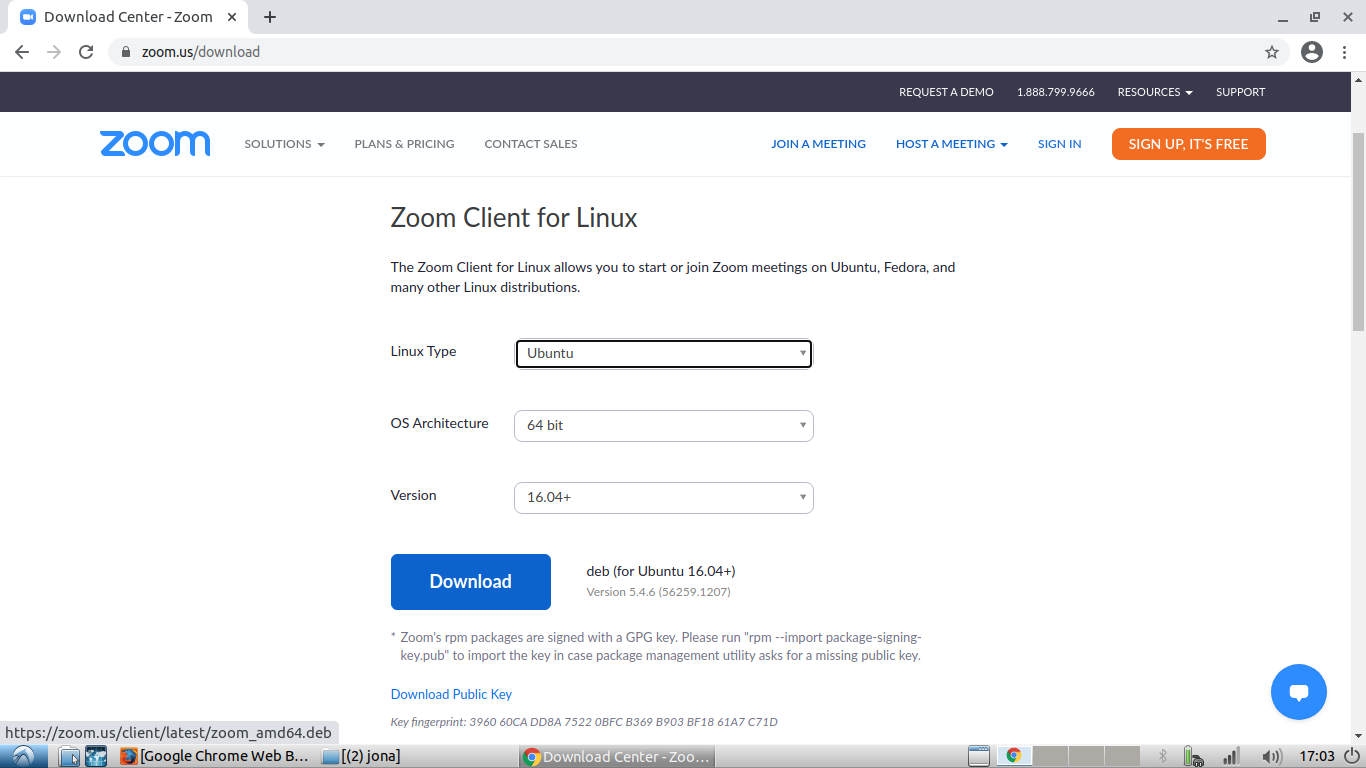
Install Zoom
Browse to the Zoom downloads page and select Ubuntu, 64 bit, and the latest version. Click Download and do the same steps shown above.
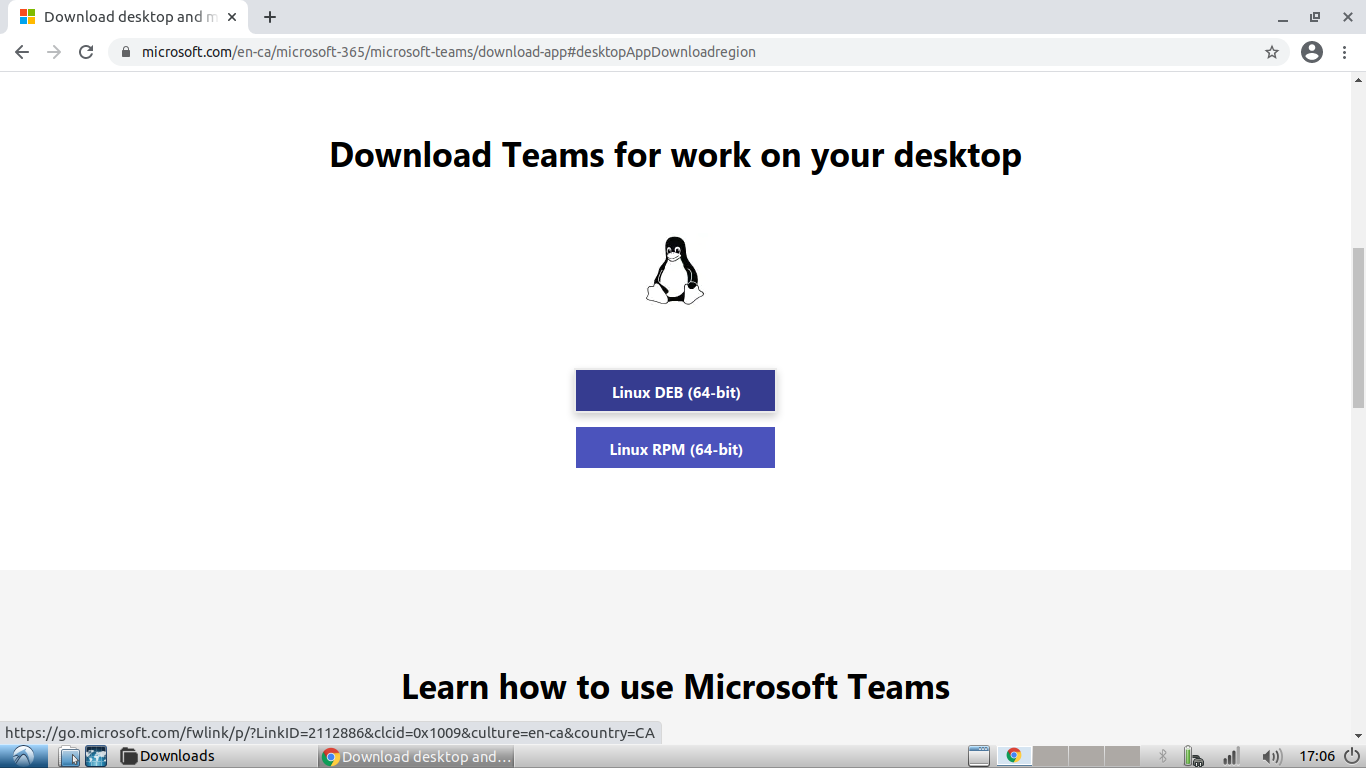
Install MS-Teams
Browse to the Teams downloads page and select Linux Debian (64-bit). Do the same steps shown above in the Chrome installation.
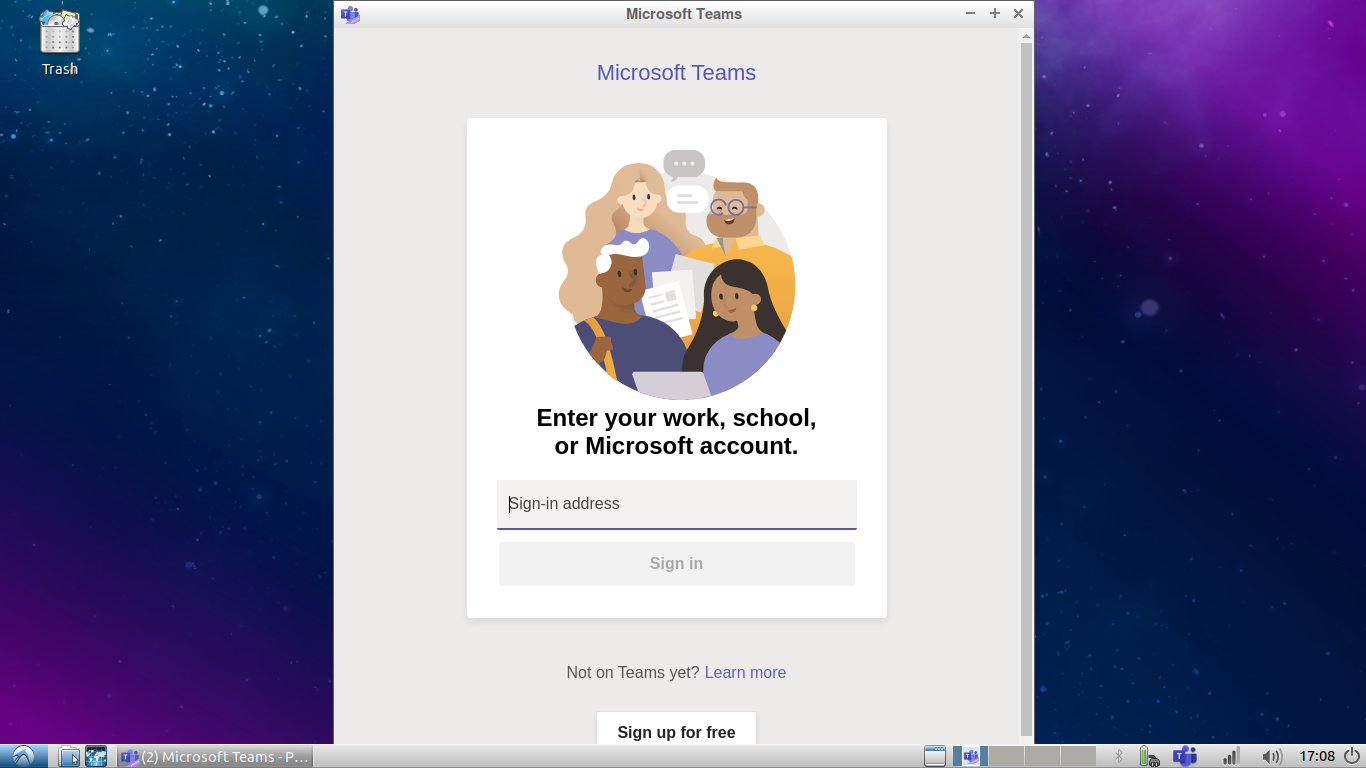
Start Teams by clicking the start button (bottom left in the system tray) and the “Run from this computer” option and type Teams and then click OK. You should see the following pop-up where you can log into your Teams account.
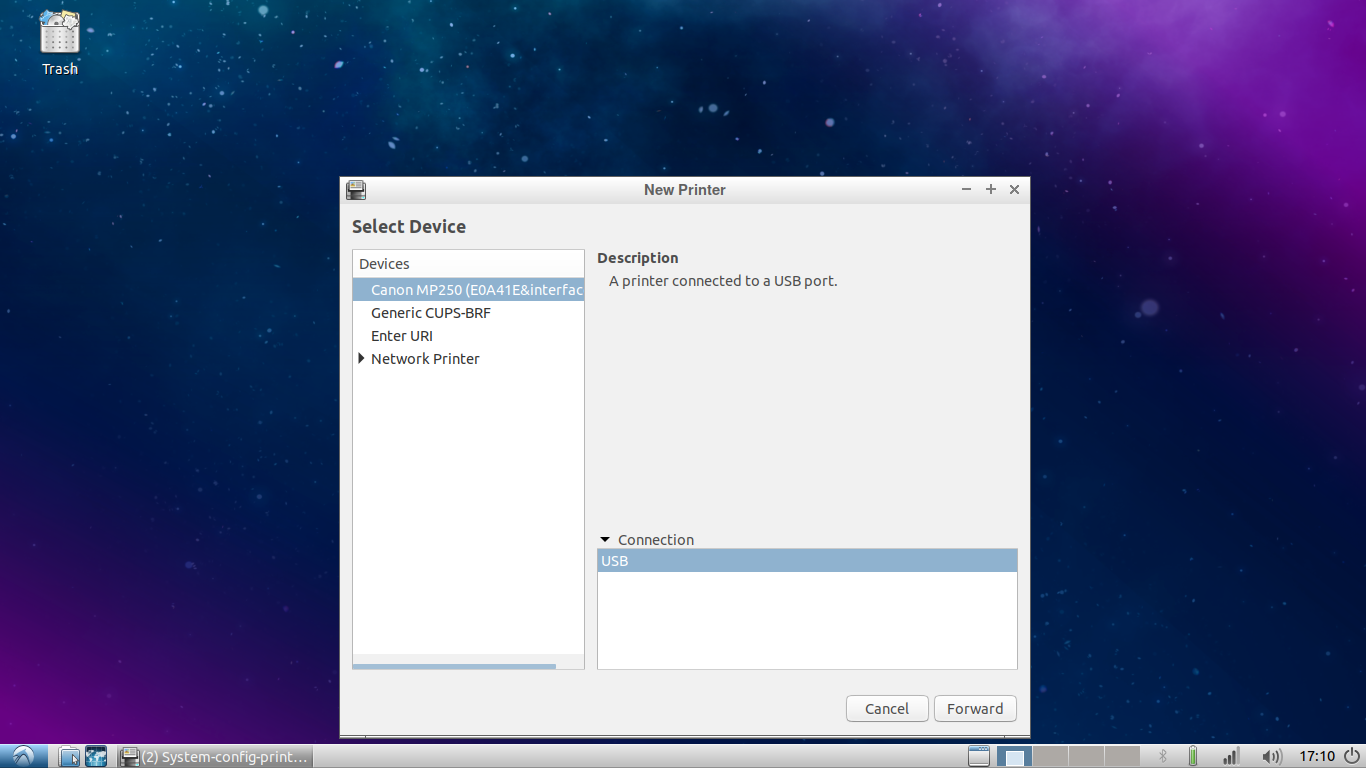
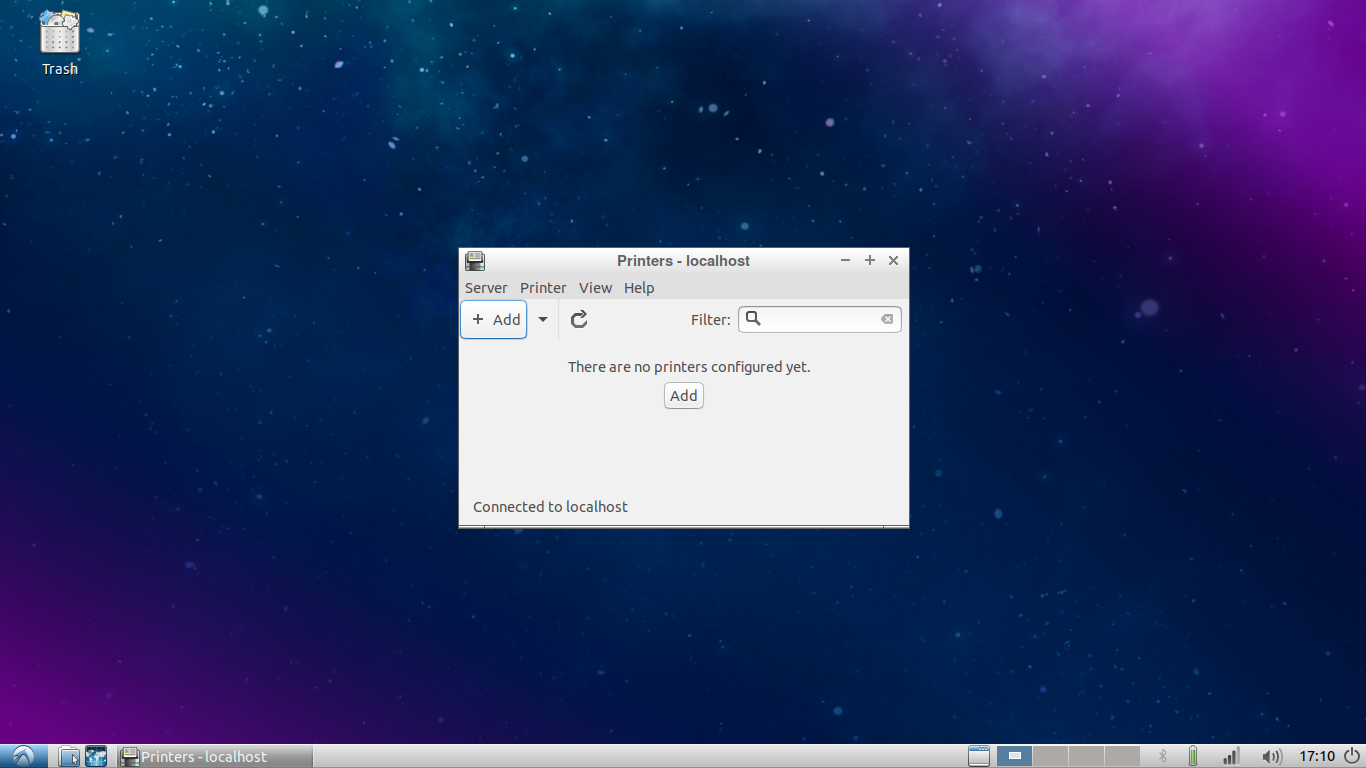
Install a printer
Plug your printer into the computer and select Start, then System Tools, then Printers. Click “Add”.
Your printer should be automatically detected. Select your printer and then click “Forward”. You will be able to print a test page and then complete the setup.